Okay, so what you're about to see is me banging my head against the wall because it feels good when I stop. I don't do a lot of flattening and smoothing of big panels like these. I've read and read and read about it, but book learning isn't as useful as actual experience, so this series of photos chronicles my personal journey in problem solving this skill.
I start out simply enough: draw hash marks so I can know when I've planed down to an even depth, more or less. Start planing across the grain as this is the path of least resistance and you can get most of the work done in this stage. I (wrongly) chose a 27° blade, thinking angle didn't matter very much for this part.
ROUND ONE! Table Top #1, top side.
The result of that 27° blade choice is tons of really deep tear out. I used a pencil to color the tear out spots so I'd know when I removed all of them.
I switched to a 37° blade, thinking a steeper angle would help.
I switched to my jointer plane, thinking it would help.
I finally gave up after 3 hours and called it a night. The next evening I switched to the 52° blade, tightened the mouth, lightened the cut, and gave it another go.
Progress! I have now learned to stop every 30 minutes to resharpen. This makes a HUGE difference. There were two spots with reversing grain direction. I had to learn how to handle this the hard way. In the future I may just avoid using boards that do this, opting instead for consistent grain direction for every board in a panel.
Close enough that I can switch to a card scraper and won't have too many noticeable divots.
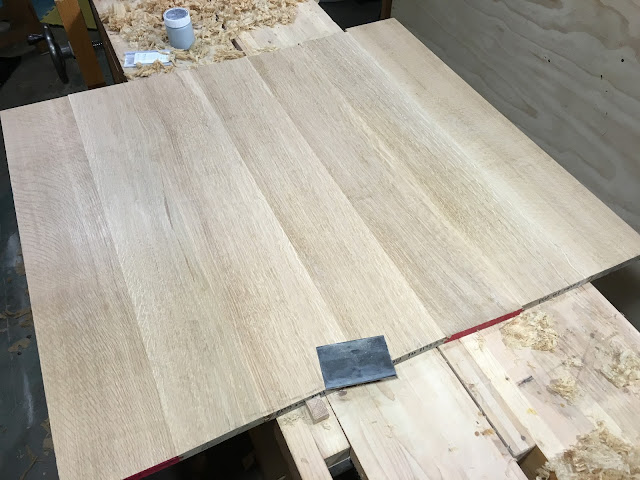
Done! 5.5 hours and many drops of sweat.
ROUND TWO! Table Top #1, underside.
I'm sticking with the jointer plane and 52° blade, light cut, freshly sharpened, tight mouth.
DONE! 2.5 hours. Still super sweaty and tired, but so happy to have minimal tear out to cleanup.
ROUND THREE! Table Top #2, top side.
I have learned the importance of raking light. It really helps highlight the tear out and any ridges left by the plane.
Done! 90 minutes! Getting faster!
ROUND FOUR! Table Top #2, underside.
Done! 75 minutes! I don't think I can get much faster than this for a panel this size.
So to summarize the lessons learned:
- Start with a freshly sharpened high blade angle. Tighten the plane mouth.
- Pencil hash marks across the panel.
- Stage 1 (Coarse): Heavy cut across the grain, skewing in grain direction (this helps prevent some tear out in this stage). Do this until all the pencil lines are gone.
- Stage 2 (Medium): Improved flattening - Light cut at 45° to the grain direction.
- Stage 3 (Fine): Lighter cut with the grain. Focus here on removing tear out as much as possible. Sharp is your best friend here. Go slow and pay really close attention to any grain direction variances. Go until you remove 99% of the tear out.
- Stage 4: (Finer): Use a card scraper to remove any remaining shallow tear out. Feather each area so there isn't a noticeable divot for you to feel or for light to bend into.
- Stop to resharpen every 30 minutes
- If the plane stops cutting, don't increase the depth of cut. Stop and go resharpen. Increasing the depth of cut will just result in a dull blade taking a deeper cut and creating more tear out.
- Stay hydrated.


No comments:
Post a Comment