Scratch Beader at work on the floor boards.

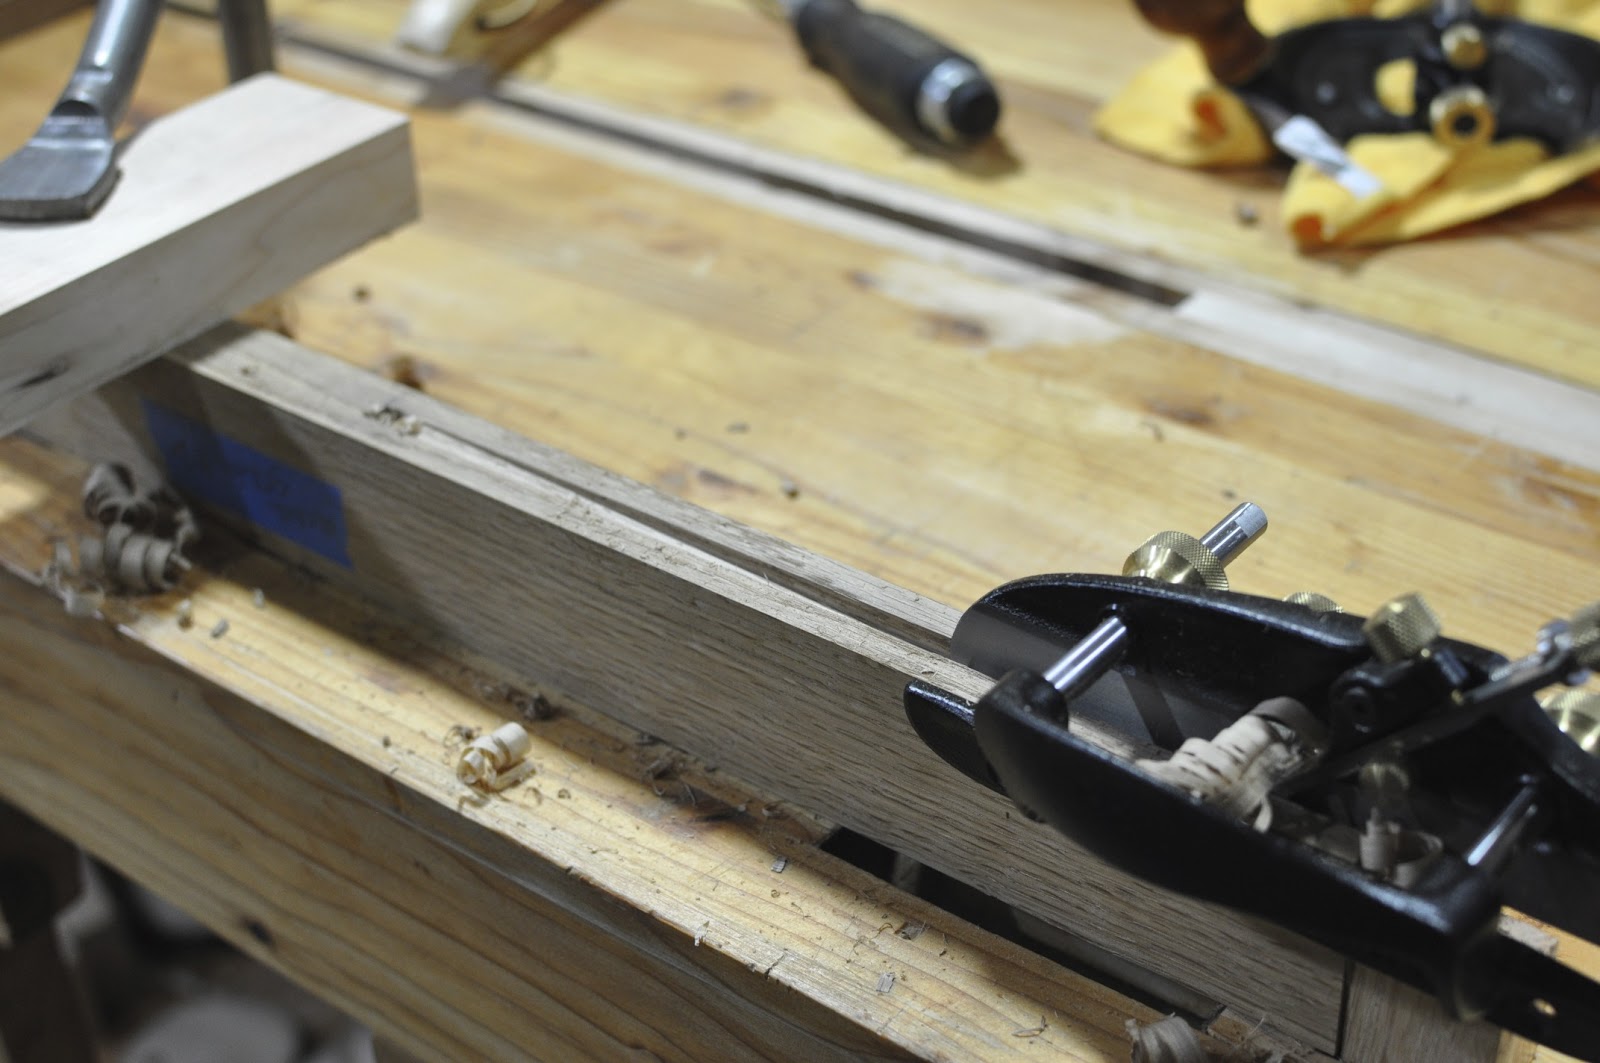
Rabbeting for shiplaps.
So here's one of a dozen or so dry-fits.

You might be wondering why the front/center panel is missing.
Because I'm the biggest idiot in the world. That was a very bad day. I wasn't paying attention and was so focused on making progress that I didn't realize I was cutting the rabbet on the wrong side of the panel. Every panel is supposed to be flat in the front and rabbeted in the back. I can't simply flip the board over, because the other side is a non-bookmatched substrate with an off-centered seam.
I had put so much time and attention into choosing those panels. They all came from the same board to ensure grain and color match, the grain patterns are the craziest I'll likely ever see, and the board is simply irreplaceable. The cry of anguish when I realized what I had done still echoes in my house.

I attempted to glue pieces of wood back on, but eventually gave up.

I found another board with decent grain and built a replacement. At least if it doesn't match it will be in the center on not to the side. I'm hoping that the aniline dye will make everything look like it belongs together and cover up my mistake.

Dry-fit #13,342

The front-center panel is a little thinner than the others. I had trouble resawing again (of course). You can only tell from the inside, so who cares?

Boden says it'll be okay. Moving on...