I completed the tool cabinet in a little over 4 months. It is not without mistakes, but I'm fine with that. This was my first mostly-hand-tool project, my first hand-cut dovetail project, my first cherry project, and several other firsts. The visible reminders of my mistakes are helping me learn.
Since these photos were taken I've lined the drawers with felt, though after I adhered them to the drawer bottoms with rubber cement, I read an article where they adhere them to poster board sized to the drawer so that it's not a permanent installation. Add that to the pile of lessons learned.
I have also hung the carcass saws on the left door, the fret and flush cut saws on the right, and built a sort of interlocking divider assembly for the chisel drawer to keep them from rolling around.
Position-wise, I disliked the bench in the middle of the room. I almost never work on the far side of the bench, and having to walk all the way around to get at the tools in the cabinet was annoying. I decided to push the bench against the wall, so now the cabinet overhangs the left end of the bench a bit, but the tools are within easy reach. A fair compromise. Space is pretty tight down there, so I'll live with it this way for awhile before changing it again.
The Finish
- 2-3 coats of Boiled Linseed Oil
- 3-4 coats of Minwax Wipe-On Satin Polyurethane
- 2-3 coats of SC Johnson Paste Wax
List of Errors (just because I'm a perfectionist):
- I got excited about cutting dovetails and I accidentally cut one too many pin slots on the bottom rear corner of the side walls.
- I got a little impatient with the hinges and split off some grain. The hinge mortises are a little too sloppy, some are too loose, some are too deep, resulting in the doors being misaligned by a little less than 1/8". I wanted to keep trying to fix it, but I was getting too nervous about the screw holes stripping out so I decided to leave it alone.
- The carcass isn't 100% square and true, and this became a problem when attempting piston-fit drawers. I must have messed up the stopped dadoes for those shelves by a small degree. So no piston-fit, but pretty damn good anyway.
- My dovetails on the drawers are a little loose. I need more practice.
- I should have attached the backer boards after the finished was applied to the rest of the carcass. I wasn't intending on finishing the backer boards, but because they were attached, and because I snapped a lot of screws trying to attach them and didn't want to remove them, I got a little finish on them as I was applying it to the shelves. So I finished the visible sections as best I could and no one would really notice.
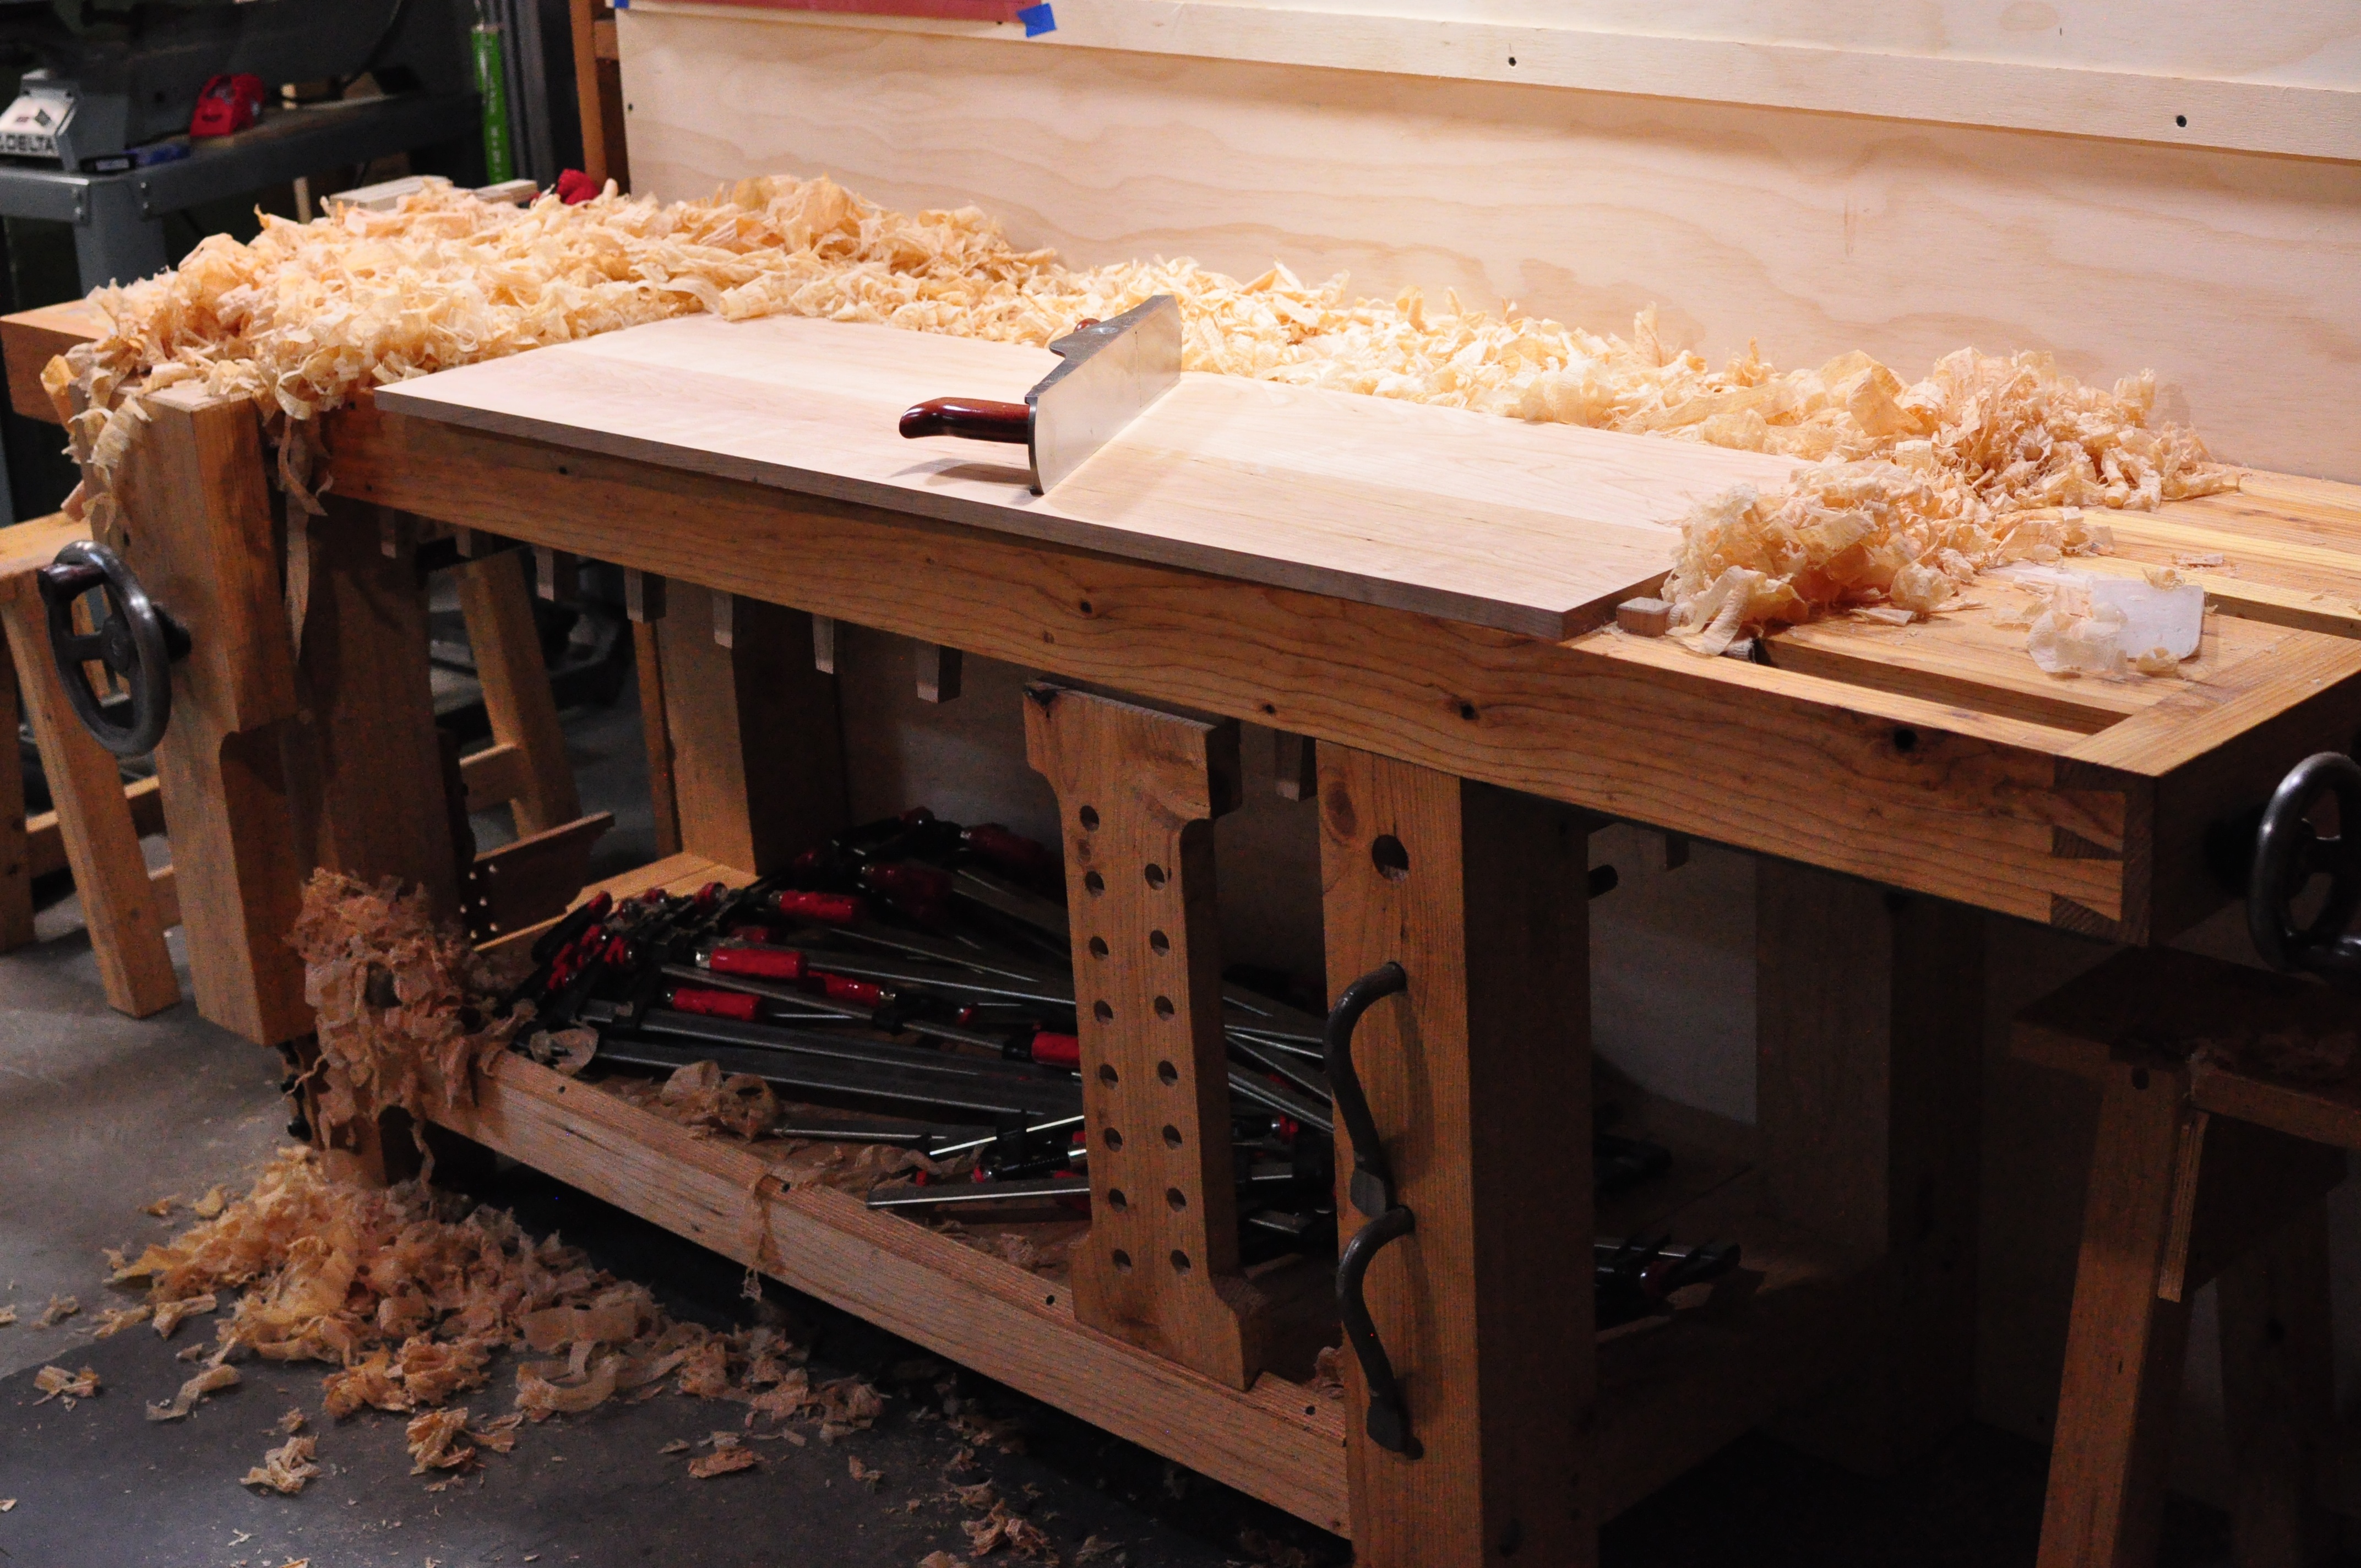
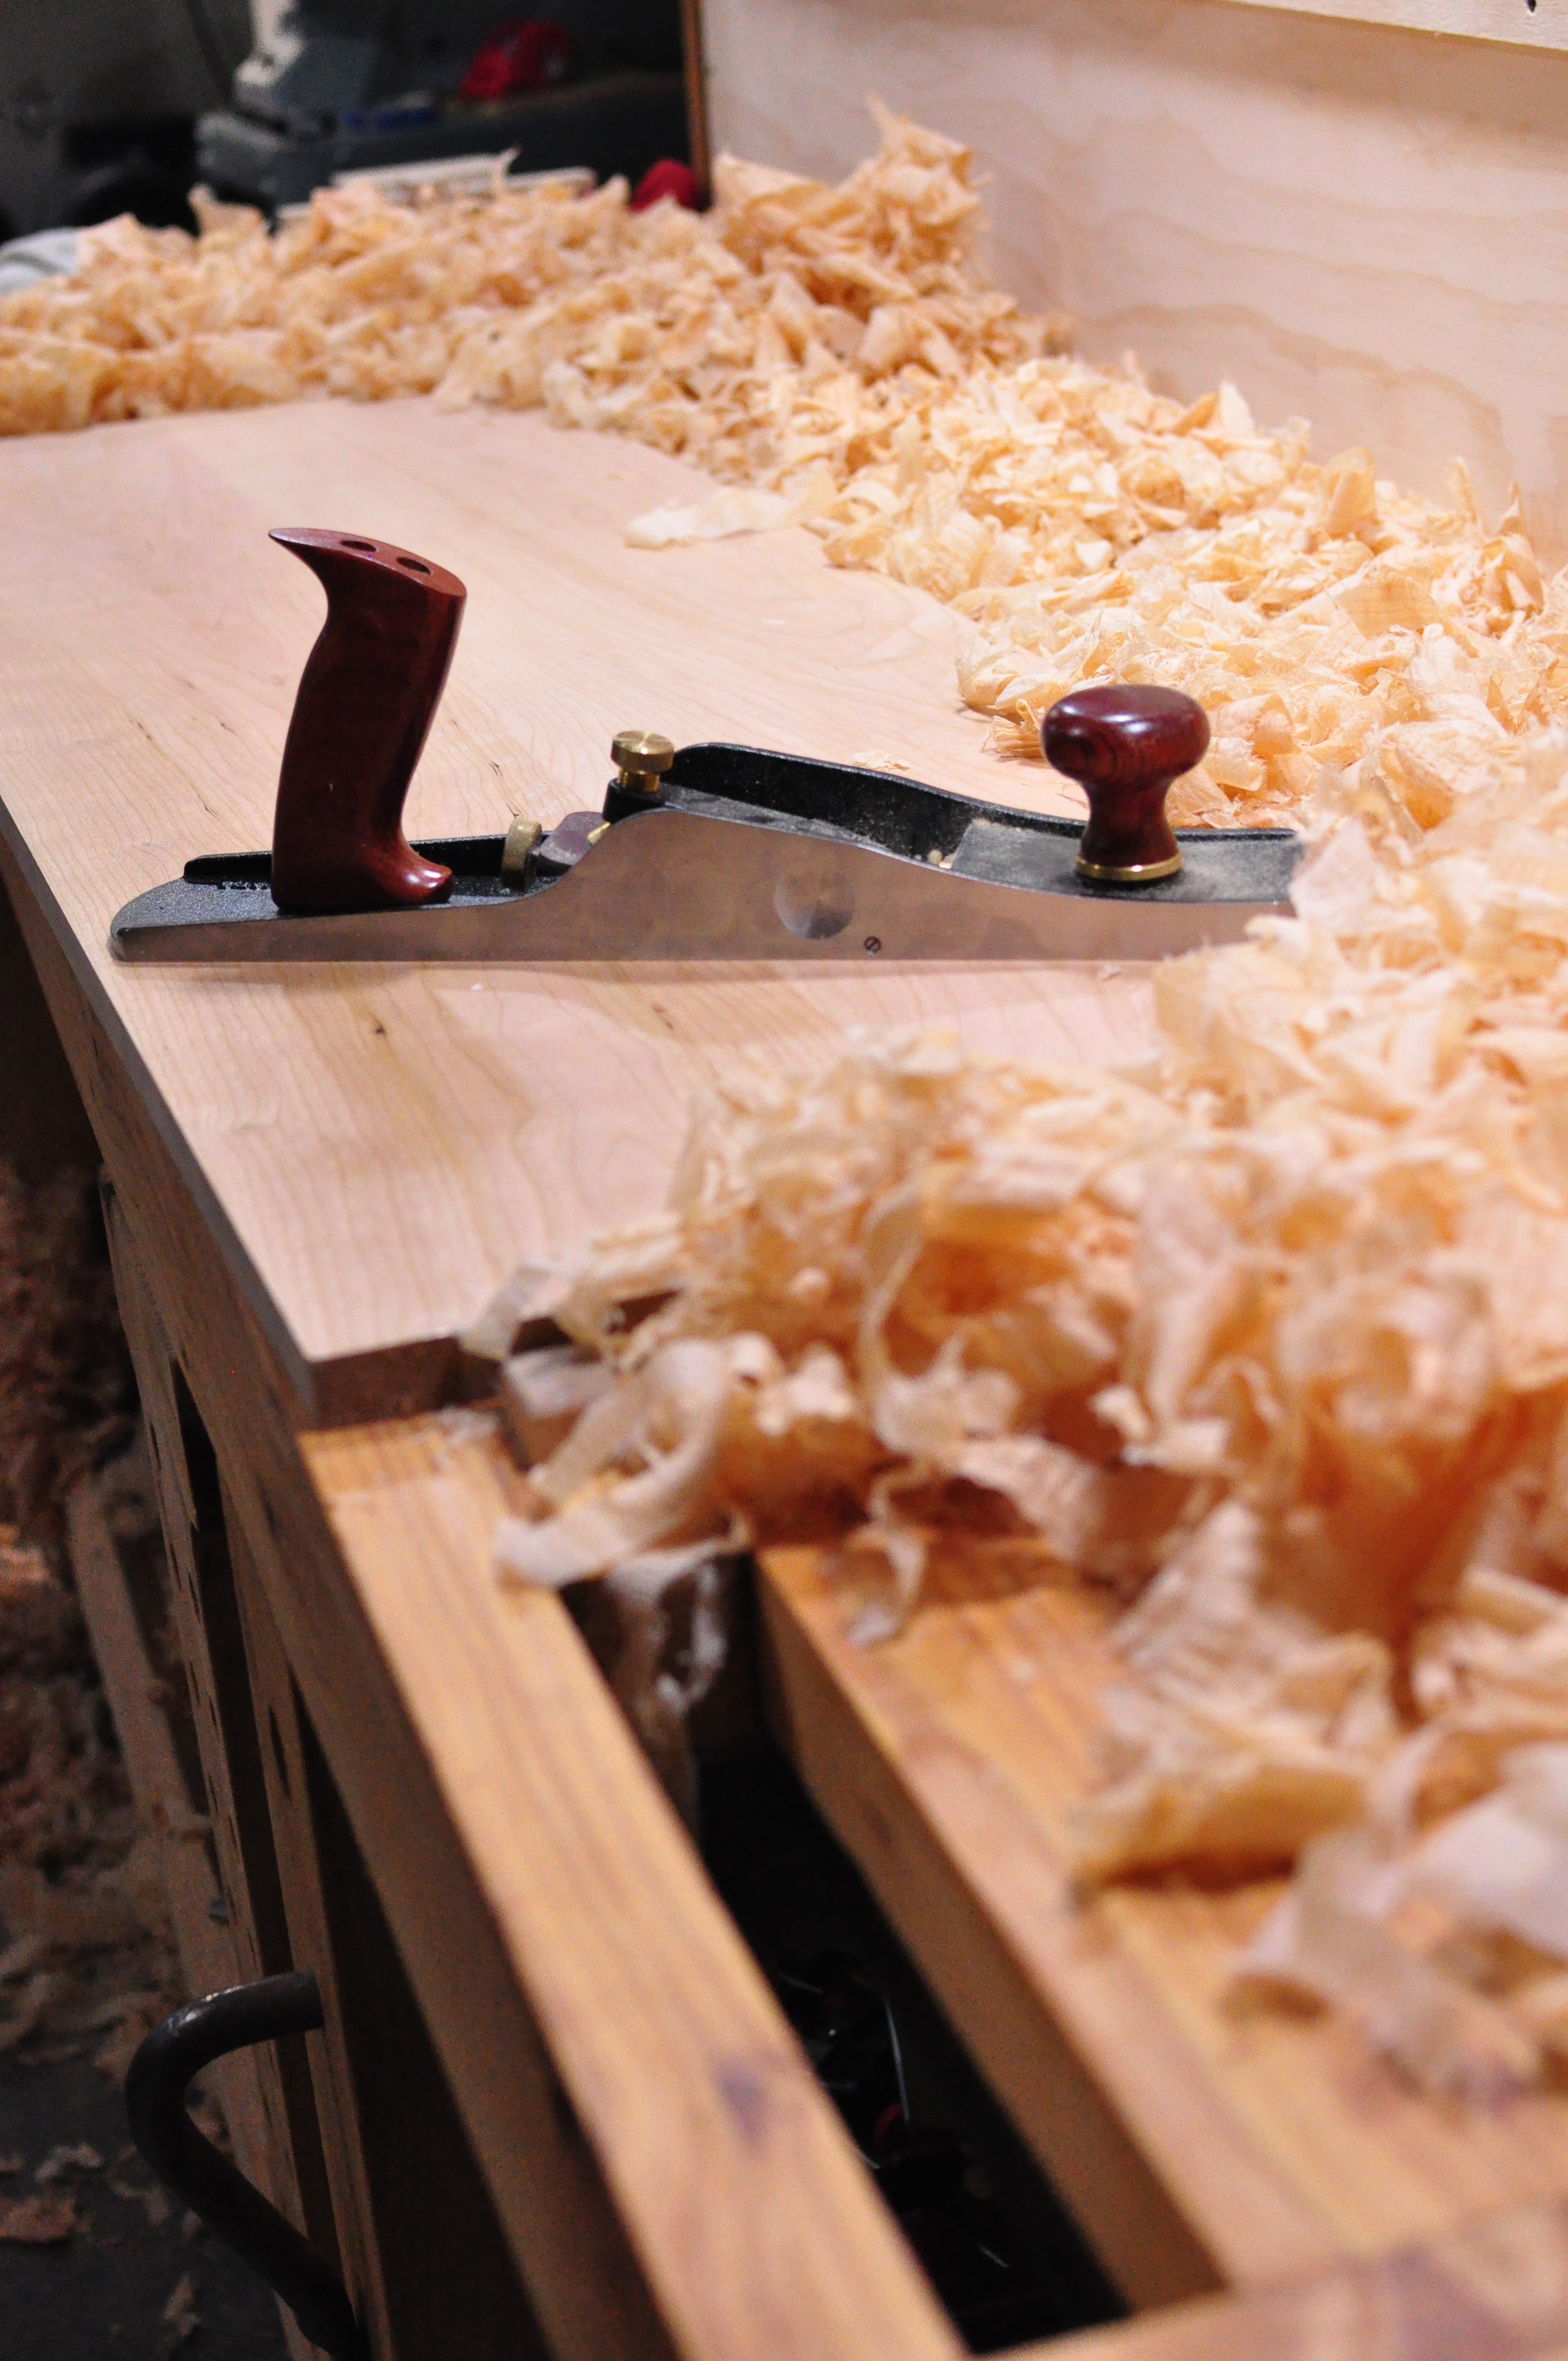
- I never would have guessed this, but apparently there are still planer marks on the bookmatched door panels. You can see it in the reflected light in the photos. What the hell? I hand planed those things for what felt like hours. Oh well.
Overall I'm 97% completely satisfied with my novice performance, and I'm allowing myself to not be perfect. It was a fun project and I really like how it turned out.