Showing posts with label Dovetails. Show all posts
Monday, August 8, 2016
Moxon Vise Complete!
Friday, June 17, 2016
Moxon Vise Support Block
My shop is in disarray until I can offload 600+ board feet of clear white pine that's monopolizing all of my space, so I've been using this time to plan a few different projects. This time I'm working on my Moxon Vise. I've already got the Benchrafted hardware and the hard rock maple, I just need time and a plan (...and space to work).
I'm enamored with the benchtop Moxons I've seen, especially Derek Jones' versions, but I have to be realistic. I don't have much shop space and I'd like to be able to hang the vise up to get it out of my way when I'm not using it.
I'm also a fan of simplicity. Christopher Schwarz just uses a piece of scrap. To date I've been using my Jack Plane as the support, but that won't work with a vise that elevates the work 8-1/4" above my workbench top.
My only problem with Schwarz's piece of scrap is that it looks like scrap and can be easily lost. Cutting another piece of scrap to the necessary length is an easy affair - scrap is always available. But I'd rather keep all the necessary components of the vise together when it's not in use. A place for everything and everything in its place.
So with that in mind, I came up with this option.
The support block serves double-duty as the "flush" elevation block to position the vertical board. Clamp the vertical board, reposition the block, position the horizontal board. Done.
The dovetailed slot in the stabilizer gives it a place to live where it's unlikely to get misplaced by the Workshop Gremlins.
I'm also going to add springs and maybe some knobs like David Barron did.
Labels:
design,
DIY,
Dovetails,
hand tools,
moxon vise,
problem solving,
tools
Wednesday, December 2, 2015
Dining Table Caddy
We have a pepper and salt grinder on our dining table. They have a bad case of dandruff, shedding salt and pepper onto the table all the time. Annoys me. So I'm making a box to put them in, to contain and hide the dandruff.
It's sized to hold standard 6.5" x 6.5" paper napkins on the flat, a bunch of wooden drink coasters, and the salt and pepper mills. That's it. 3/8" thick walls and bottom, solid cherry. I had enough scraps leftover so this isn't costing me anything but time, really.
7-1/2" wide x 12-1/4" long x 4-3/8" tall
My model is based off of Christopher Schwarz's Silverware Tray, just scaled down a bit.
Thursday, May 29, 2014
Marking the Pins
Place the pin board (in this case, the back of the drawer) in the leg vise, inside surface toward the bench, and make it flush with the height of your jack plane (or some object).
Push the jack plane back a ways.
Place your tail board on the jack plane and slide it toward your pin board. The little rabbet we cut earlier bumps into the inside surface of the pin board. Make sure the bottom edges are flush to one another and make sure you're using the correct end of the correct drawer side! :)
This tiny rabbet helps tremendously by allowing you to quickly ensure that the boards are square to one another before you trace the tails.
When you're done, take a .3mm mechanical pencil and darken the lines, and shade the correct areas so you know which side to cut on.
Cut the pins (sorry for the lack of photos), clean 'em up, and test the fit. This one ended up a bit loose, but is still perfectly functional.
Rinse and repeat until the entire drawer is done. I didn't take any photos of sawing and cleaning up the half-blinds. I should have. I'll try to snap a few on the next drawer.
Notice that I removed the bottom half inch of the drawer back. This is so that drawer slips and drawer bottom can slide in after the drawer is assembled. 8 drawers to go!
Labels:
arts & crafts,
Dovetails,
jewelry chest,
lingerie chest
Wednesday, May 28, 2014
Cutting the Tails
Cutting tails-first is easy. As long as you cut squarely across the thickness of the board, it doesn't really matter what angle you cut your tails at. They could all be wonky and at different angles and as long as you trace them onto the pin board and cut the pin board accurately, everything will go together just fine and make a good solid joint.
This is the first time I've attempted ganging up multiple parts to gang-cut the tails. I started with two boards for drawer #1.
| Cut as accurately as you can, but if you're off the line a little it doesn't really matter. Just be square across the thickness. |
| Saw the waste out with a fret or coping saw getting reasonably close to your baselines, but don't cross them. |
| Setup for gang-cutting 6 boards at once. |
| I didn't like this. |
| All the tails are cut, now they just need to be pared to their baselines. |
| All cleaned up. |
I was super timid to start cutting these dovetails, but as soon as I cut the first tail I remembered that dovetails aren't really a big deal. Tracing and cutting the pins accurately and having square cuts are the two most important things. Everything else is simple stuff. It's just a shape. And if my third (?) attempt at handcut dovetails turns out to be not quite 100% perfect, who cares? They'll still be super strong, fully functional, and look handmade. I have the rest of my life to get better at them.
Labels:
arts & crafts,
Dovetails,
jewelry chest,
lingerie chest
Monday, May 26, 2014
Drawers Have Begun
- All of the parts are ready
- The layout has been planned and double-checked
- I've watched Rob Cosman's Drawer Making DVD two more times as a refresher
- I've confirmed my tail layout against Christopher Schwarz's projects as added insurance
- And, most importantly, I got the green light from my wife on how the drawers will look upon completion.
Have you gotten the impression that I'm a little nervous about this part of the project? I'm stalling.
|
| Drawer Backs, Drawer Sides, Drawer Faces |
Marking Baselines
Set one Marking Gauge to the Thickness of the Drawer Sides minus 1/32". This will make the drawer sides stand proud of the perfectly-fitting drawer face and back. Once assembled I can plane the sides down to be flush with the end grain of the face and back and it should fit the opening perfectly. Mark this measurement onto the inside surface of the drawer faces and backs.
Set a different Marking Gauge to the thickness of the drawer back plus a tiny bit (1/2" + 1/64") and mark this measurement heavily onto the inside, top and bottom edges, and lightly on the outside of the rear of the drawer sides. You can set it exactly if you want, I'm just adding the tiny bit cuz I want to.
If you have a third Marking Gauge, set it to the depth you want the half-blind dovetails to reach into the drawer faces. Mark this line onto the end grain of the drawer faces.
You should have:
- 2 different baselines on each end of the drawer faces
- 1 for the thickness of the side
- 1 for the depth of the half-blind tails
- 2 different baselines on each end of the drawer sides
- 1 for the depth of the half-blind tails
- 1 for the thickness of the drawer back
- 2 of the same baselines on each end of the drawer backs
- both for the thickness of the drawer sides
Rabbet Season
Okay, that might be my last blog pun. For some reason I'm seeing them everywhere, like it's what you're supposed to do on blogs. Not sure why, but it's starting to annoy me.Set the Skew Rabbet Plane to take a very light cut. Set the fence to the drawer side baselines and take 1 or 2 light passes on the inside faces of the drawer sides. This little step will help you register the drawer side to the drawer back/front when you go to mark the tail locations.
Christopher Schwarz mentions this trick and I've seen it a few times now. It's also on the Rob Cosman DVD.
| Just a wee rabbet, doesn't even have to be perfectly square. |
Easy Divider Dovetail Layout
Pencil a line 1/2" from the bottom edge of the drawer sides so you know where the drawer bottom is. You'll start walking your dividers from this point, not from the bottom edge of the board.
Set one pair of dividers to something small that looks decent. You can have super thin and pointy pins or you can pick something with a wider margin for error. I set mine to about 3/16". Mark this distance from the top and bottom edges onto the end grain of the drawer sides.
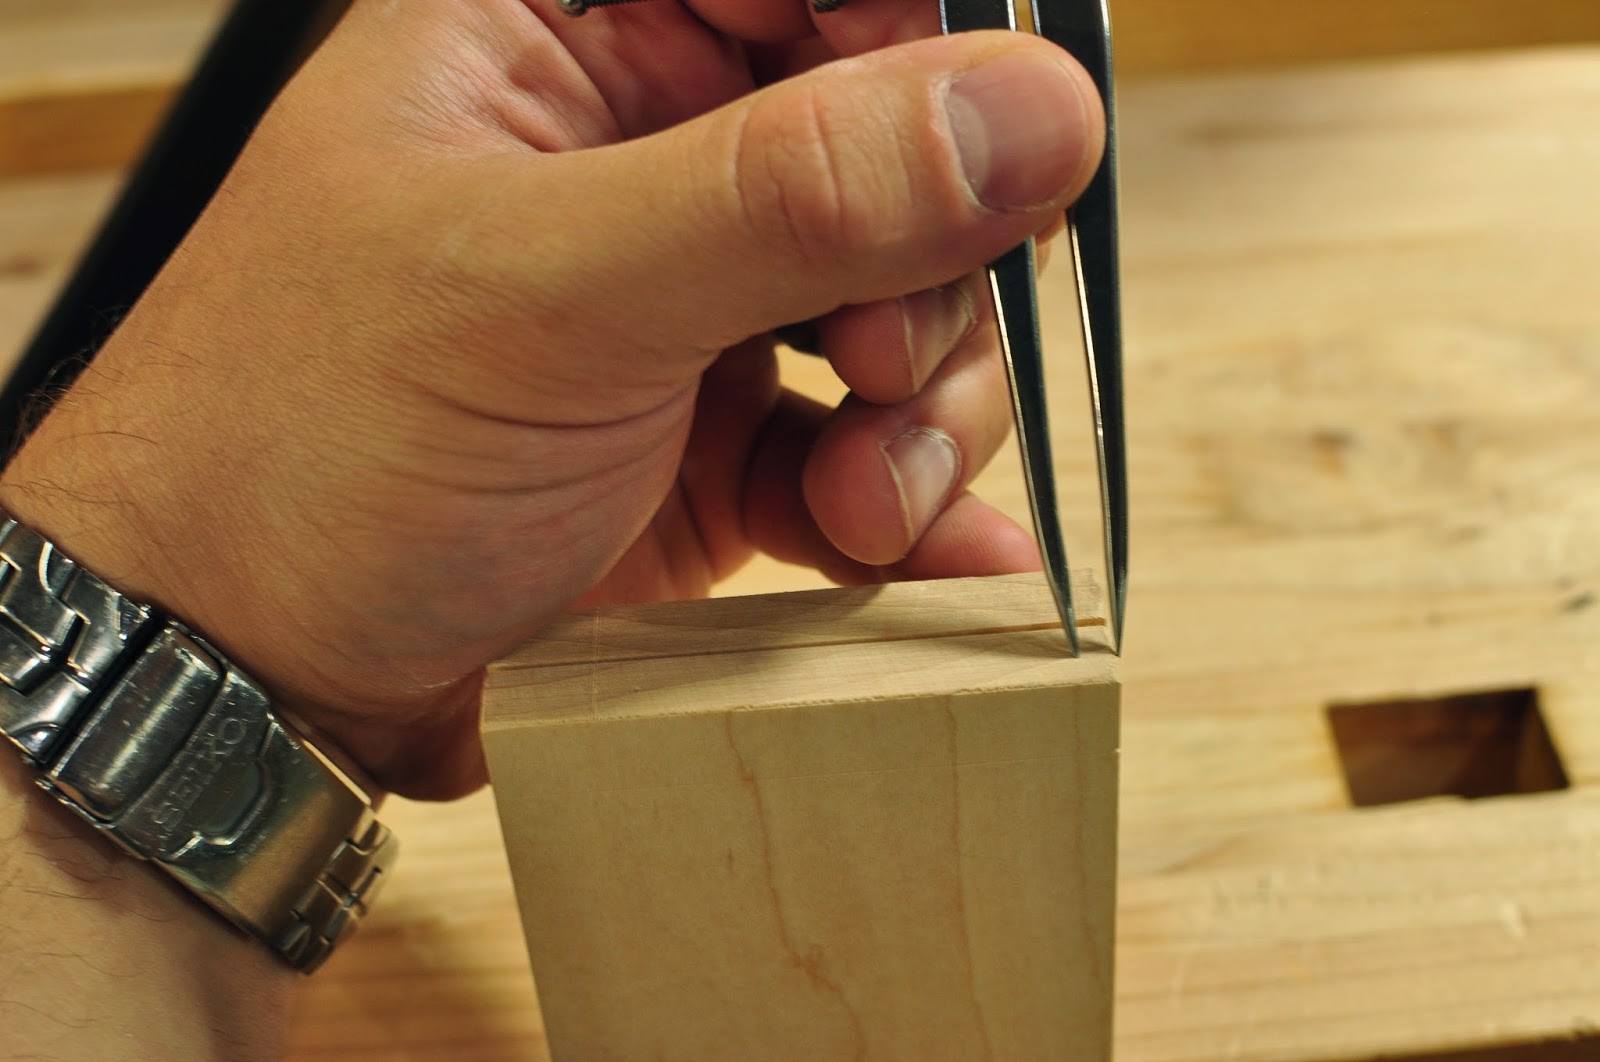
Dial in another pair of dividers to 1" or so. Put one point on the starting point (1/2" from the bottom edge) and without making any marks, start walking the dividers toward the top edge of the board, counting as you go. I want two tails on the smallest drawers, so I'm trying to count to two. I want the word "two" to end with the divider point resting exact into the 3/16" mark I made from the top edge of the board. Keep adjusting the dividers until this point falls into place. Once you've got it, walk the dividers across the end of the board and make small impressions with the leading point. Reposition the dividers to the hole 3/16" from the top edge of the board and mark backwards. These little impressions are the boundaries of your symmetrical dovetail layout.
Mark along the end grain and down the outside face of the drawer sides with your dovetail angle of choice. I chose 14 degrees.
Do that on both ends of every drawer side. If you have graduated drawer sizes, as I (sort of) do, then you'll need to modify the second set of dividers for the other drawer sizes to create more pins on taller drawers. In my case, I have two tails on the smallest drawers, 3 on the middle-size drawers, and 5 on the largest drawers.
Megan Fitzpatrick put together a nice video explaining this process visually.
Labels:
arts & crafts,
Dovetails,
jewelry chest,
lingerie chest
Tuesday, May 20, 2014
Doors almost done, drawers on deck
I'm putting the final coat of poly on the doors now. Everything went smoothly except the drawbores. The grain exploded out the back side. In the future, on a small project like this, I don't think I'll bother with drawboring. It's just a small 1/2" thick door, and I don't care to have accidents at this stage of the project. I managed to use some wood filler and obscure it with some stain so that it's less noticeable, and the explosion is on the inside of the door, so ...not perfect, but good enough.
All of the drawer backs and fronts have been cut out and fitted to their respective openings. All of the drawer sides, the same. I'm to the point where I'm cutting tiny rabbets into the drawer sides, marking the tail locations, and beginning cutting the tails.
I've been hesitating getting started on the dovetails for a few days now, taking extra time to plan and make sure I'm laying them out correctly. I came up with two variations and asked C to choose. She chose #1 in this photo...which suits me just fine. #2 has some pretty fragile areas that would be prone to cracking and I'm still an amateur at cutting dovetails by hand.
So I'm taking my time here. I don't want to mess up. Before chopping any waste I'll go through and sharpen all my tools again just to remove dull edges from the equation. A sharp edge is much more predictable to work with, the results are cleaner, and work requires less effort. Sharpening is time well spent at this point.
I think I'm 75% complete at this point. Next up: Dovetails, drawer assembly, drawer slips, drawer bottoms...
Labels:
arts & crafts,
doors,
Dovetails,
jewelry chest,
lingerie chest
Monday, July 29, 2013
The Sliding Till
It's been awhile since I've made dovetails, but I've studied a bunch recently so I felt confident in going for it.
This is for a little till that will slide on runners just under the bench lid.
I forgot to take photos of measuring and marking out and cutting the tails. I'll go into detail in a future post about the process of cutting dovetails by hand. For now, just know that this is the best set of dovetails I've cut so far. :-)
This is for a little till that will slide on runners just under the bench lid.
Orient the boards as they'll be joined and mark them so you don't get mixed up.
I forgot to take photos of measuring and marking out and cutting the tails. I'll go into detail in a future post about the process of cutting dovetails by hand. For now, just know that this is the best set of dovetails I've cut so far. :-)
Marking the pin locations.
Clamping the pin board in my wagon vise to prevent any potential splitting during assembly.
Very tight fit. Almost scary tight. I've never done this in white oak before.
I think these are also the narrowest pins I've made.
I've decided I should buy a real dovetail saw. I've been using a Veritas Rip Carcass Saw with 12tpi (teeth per inch) which I thought was close enough to the 14tpi of a normal dovetail saw that it wouldn't make much difference and wasn't worth the purchase. But white oak is a lot harder and denser than the softer stuff I've been using lately. My rip carcass saw was hard to start and had a tendency to chatter and left a rough surface on the sides of the tails. My crosscut carcass saw is 14tpi and it feels a lot smoother in the cut than this rip saw. So now I just need to decide if I want the Veritas, Lie-Nielsen or Bad Axe.
Tuesday, January 17, 2012
A Dovetail A Day
Practice Practice Practice
Schwarz wrote an article. I mulled it over. I waited until I had my workbench. I waited until I had my saw. I waited until I had some scrap wood. I waited until I had some free time. I even waited until I had a marking knife and a marking gauge. It might seem like I waited too long, but I was busy. I wanted to make sure I had enough room in my brain to really pay attention and learn.Finally, I started cutting some dovetails by hand. I'm learning little bits here and there, but I think I skipped ahead too fast and I need to go back and do The Night of 100 Cuts, and polish up my sawing before I focus on the more complicated geometry of dovetails.
I'm getting better at handcut dovetails, but the thing I'm noticing is that my sawing isn't square across the board, resulting in a need for paring with a chisel - which introduces errors/gaps.
I keep repeating in my mind Ebenezer's lessons to John Gay, hoping they start to sink in.
Subscribe to:
Posts (Atom)


