Alright, here's the latest progress. All the mortises and tenons for the table base are complete and I spent a couple days cleaning out mortises and tuning the fit of the tenons.
First up: the guide rails have double tenons and lock into the apron like so...

The important detail is that the mortise locations in the apron are precise so that the guide rails run parallel to each other.

This pile is every piece of the base frame, excluding the 4 corner braces.

And here we have the main super.. err... sub-structure of the base frame dry-fitted. The center board is just a stiffener, and the cross-piece is there to ensure the guide rails remain parallel along their length. This is pretty much how Stickley did it, so I'm following their lead.

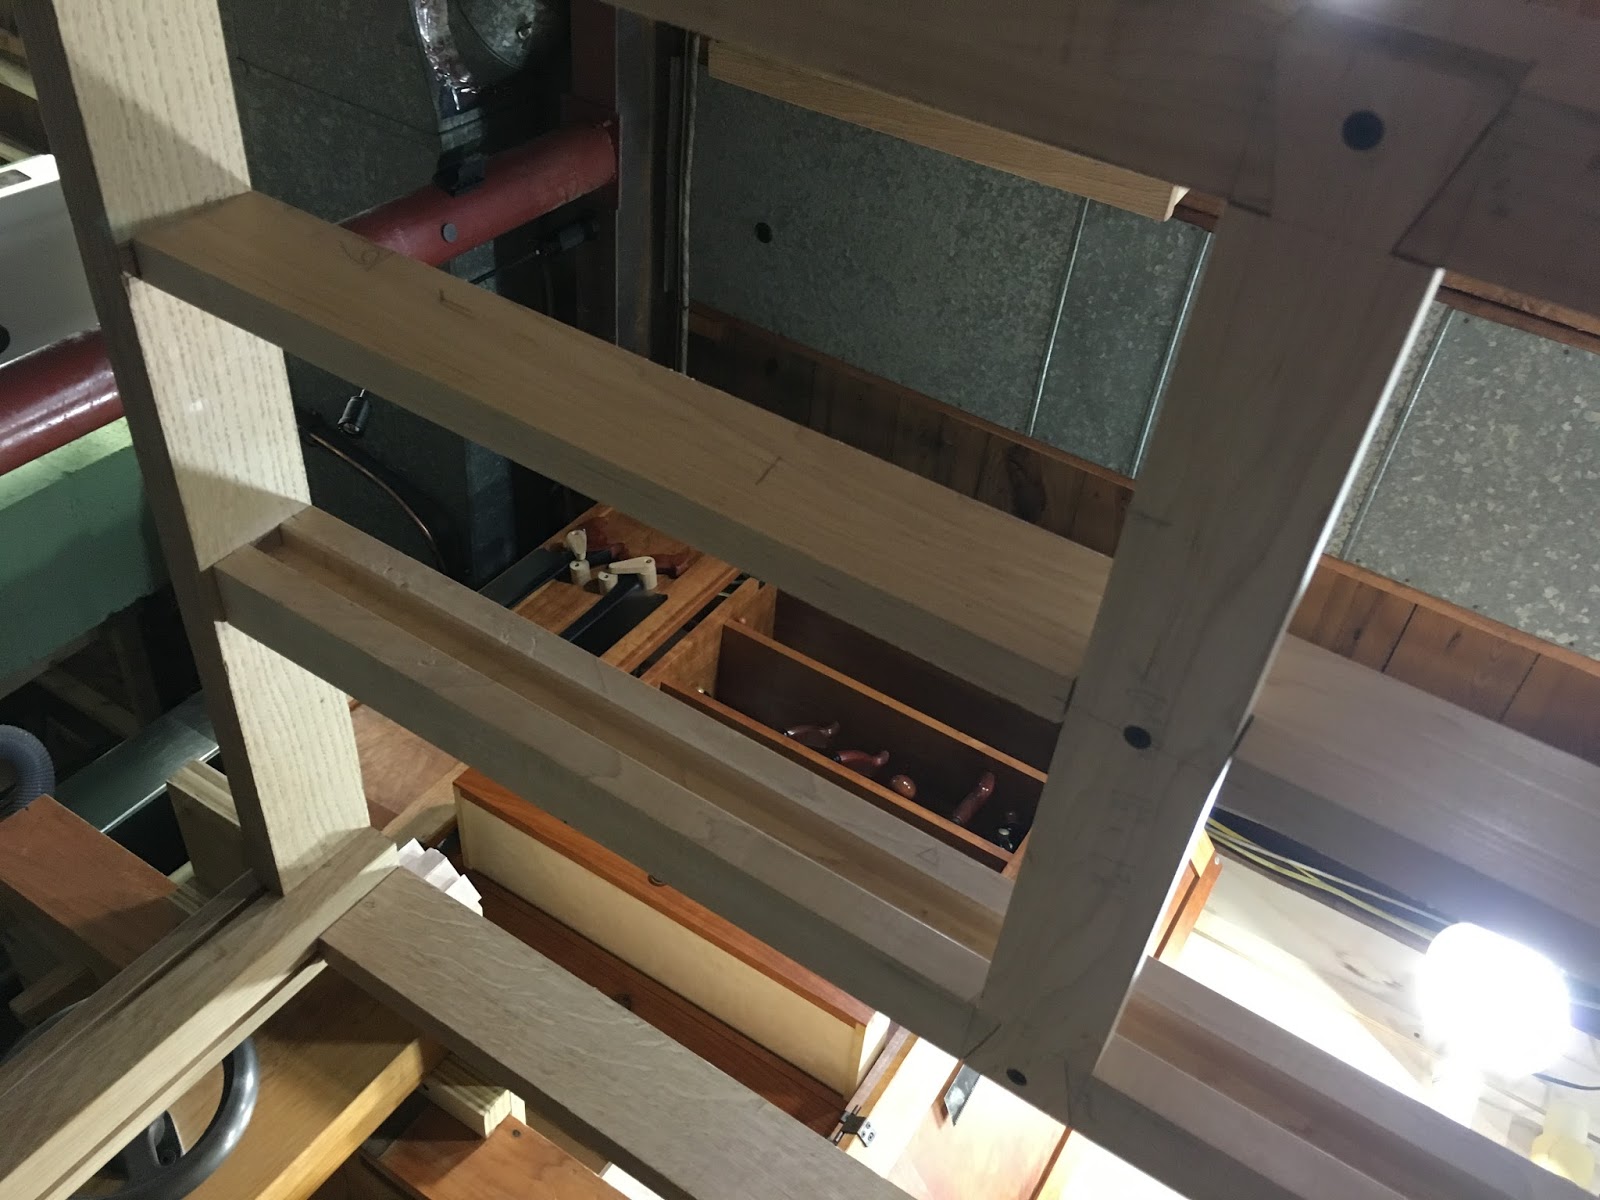
A view of the underside. With the stiffener dropped into a sliding dovetail from above, and this cross-piece screwed in from below, it's completely locked together.
This part is a real pain in the ass. Half-dovetailed corner braces. I thought my bandsaw's work table adjusts to 45°, but it doesn't. It gets close. I used the donkey-ear on my shooting board to plane them to the final 45°. Then I used a bevel gauge to mark the square notch 7/16" deep. Not wanting to introduce human error, I screwed a fence onto my bandsaw miter sled and used a stop block to cut all of the notches on all of the corner braces at the same exact location.
I put a shallow rabbet on the underside of the dovetail to help me position it, and used my bevel gauge, still set to 45°, to help me align the parts. Press down firmly so it doesn't move, and mark the tail locations with a knife.

First, I drilled the end of the slot with a 5/8" Forstner bit. Then I clamped a vertical fence for the straight cut and used my flush-cut saw. Then I clamped a corner brace so the point of that triangle rested right on the line and sawed the 45°. Clearing out the waste was a real chore. I've got 2 slots done so far. 6 left.
My primary fear at this point is that if the corner braces aren't positioned correctly, they could try to push the aprons away from the corner. I'll drawbore them before I insert the corner braces. If it becomes a problem, I'll have to figure something out. And if it doesn't become a problem... well, of course it didn't.


