Showing posts with label tools. Show all posts
Monday, August 8, 2016
Moxon Vise Complete!
Friday, June 17, 2016
Moxon Vise Support Block
My shop is in disarray until I can offload 600+ board feet of clear white pine that's monopolizing all of my space, so I've been using this time to plan a few different projects. This time I'm working on my Moxon Vise. I've already got the Benchrafted hardware and the hard rock maple, I just need time and a plan (...and space to work).
I'm enamored with the benchtop Moxons I've seen, especially Derek Jones' versions, but I have to be realistic. I don't have much shop space and I'd like to be able to hang the vise up to get it out of my way when I'm not using it.
I'm also a fan of simplicity. Christopher Schwarz just uses a piece of scrap. To date I've been using my Jack Plane as the support, but that won't work with a vise that elevates the work 8-1/4" above my workbench top.
My only problem with Schwarz's piece of scrap is that it looks like scrap and can be easily lost. Cutting another piece of scrap to the necessary length is an easy affair - scrap is always available. But I'd rather keep all the necessary components of the vise together when it's not in use. A place for everything and everything in its place.
So with that in mind, I came up with this option.
The support block serves double-duty as the "flush" elevation block to position the vertical board. Clamp the vertical board, reposition the block, position the horizontal board. Done.
The dovetailed slot in the stabilizer gives it a place to live where it's unlikely to get misplaced by the Workshop Gremlins.
I'm also going to add springs and maybe some knobs like David Barron did.
Labels:
design,
DIY,
Dovetails,
hand tools,
moxon vise,
problem solving,
tools
Friday, October 30, 2015
Tool break!
One of my hollow-chisel mortising bits broke, and a couple of them are bent. They're the stock chisels that came with my budget-level benchtop mortiser, so I never really had much faith in them.
I bought the sharpening cones and hones, but they clog all the time, heat up too much, and dull rather quickly. Time to upgrade!
1/4" and 3/8" Lee Valley Premium Hollow-Chisel Mortising Bits are on their way. Eventually, I may buy the 1/2" one, but for now, these two will do most of what I need a mortiser to do.
I did a bit of product research leading into this purchase. These chisels are well-machined, have large escapements, and tend to not get clogged.
It only occurred to me after I bought a new 3/8" mortising chisel & bit that I should size the mortises in this table to 3/8". /facepalm
So I've updated the SketchUp model to reflect this. My tenons and mortises are now 1/16" thinner. Big whoop. Only problem is the 3/8" bit is backordered to November 21. In the meantime, I might start working on the table top glue up.
I bought the sharpening cones and hones, but they clog all the time, heat up too much, and dull rather quickly. Time to upgrade!
![]() |
| Image source: Leevalley.com |
1/4" and 3/8" Lee Valley Premium Hollow-Chisel Mortising Bits are on their way. Eventually, I may buy the 1/2" one, but for now, these two will do most of what I need a mortiser to do.
I did a bit of product research leading into this purchase. These chisels are well-machined, have large escapements, and tend to not get clogged.
It only occurred to me after I bought a new 3/8" mortising chisel & bit that I should size the mortises in this table to 3/8". /facepalm
So I've updated the SketchUp model to reflect this. My tenons and mortises are now 1/16" thinner. Big whoop. Only problem is the 3/8" bit is backordered to November 21. In the meantime, I might start working on the table top glue up.
Tuesday, July 22, 2014
Jewelry Armoire / Lingerie Chest Complete!
It's done! She waited through 2 birthdays, 1 anniversary, 1 Christmas, and 1 Valentine's Day... but it's finally done, and she seems to feel that it was worth the wait. /phew!
If you've followed this blog this far, I won't make you way any longer. Here are the photos:
In which I attempt to catalog what went right, what went wrong, what I've learned, and what mistakes I'll try to avoid in the future.
I've added several firsts in this project.
I've actually been having a hard time adjusting to not having such a major project occupying a substantial part of my brain. I get home from work or wake up on a Saturday with nothing to work on. It only took me two days to start getting the shakes. I had to tell Carolyn: "Whatever happens, don't let me start a new project."
These past few woodworking projects have taken so much focus and dragged out for so many months that upon completion there's a real sensation of ...emptiness? at not having them within my care and attention anymore. Still, I'm relieved to have this dresser completed.
When I brought it upstairs, Carolyn asked me how it feels to finally be done, and I guess I was sort of in shock about it because I just felt completely numb and thoroughly wiped out. It was as if the cumulative weight of the entire project came crashing into me. I wasn't allowing myself to pay attention to all the steps it took me to climb the mountain and only now turned to look back to see where I've been, and the length of the journey is daunting.
I started woodworking 5 years ago. I had to go look that up. It seems like it's been so much longer than that. With each new piece of furniture I can see that I'm getting better and that my skills are improving. This dresser is a huge leap for me. The complexity and quantity of joinery and measurement and precision required ... man. I still get a little surge of excitement when a piece of furniture ends up exactly as I designed it in SketchUp. "This was in my head at one point, and now it's standing here in front of me."
As with all of my work, I continue to see tiny flaws here and there. Mistakes no one else will notice, and I've written them here just as a reminder to myself. They don't really matter much, as they can't outweigh the beauty of the end result, but nowadays the flaws are in areas I wouldn't have anticipated. It's not an obvious flaw like a bad-fitting joint or bad finish. It's more about design, where I should have paid more attention to grain direction, or realized that a board oriented in that fashion would display flatsawn grain and not quartersawn or riftsawn grain (which would have been more preferable). I don't think this is the kind of lesson I can learn from books or blogs... I gotta make those mistakes myself and consciously decide to avoid them in the next project - the sort of wisdom that comes with the actual experience of doing the thing.
You put up with me when my brain latches onto a complicated puzzle and can't let go.
You wait patiently while the project invariably drags out into several months, looking forward to the time when I can return to spend time with you and our family.
When you do complain, it's out of worry for my happiness in pursuing this hobby, am I enjoying it or am I pushing myself too hard?
You do without me so that I can have this activity in my life.
You carry the weight of my absence and keep our home in one piece.
You don't add anymore pressure to me than I've already added to myself.
You make it work.
You've waited and watched for years as I built furniture for other people.
...and you've never asked for something to be built for yourself.
For all of these reasons and more, I give you this.
The depth of my knowledge.
If you've followed this blog this far, I won't make you way any longer. Here are the photos:
The Butcher's Bill
In which I attempt to catalog what went right, what went wrong, what I've learned, and what mistakes I'll try to avoid in the future.
What Went Right
I've added several firsts in this project.
- First attempt to design a piece of furniture based on the Golden Ratio
- First handcut sliding dovetails
- First Stickley Aurora finish
- First solid wood drawer bottoms
- First drawer slips
- First drawer closing stops
- First velvet-lined drawers
- First invisible hinges
- First web frames suspended in each leg where the legs have mortises at precise elevations
- First mortise & tenons that meet inside the leg at a 45 degree miter
- 52" long quadrilinear legs!
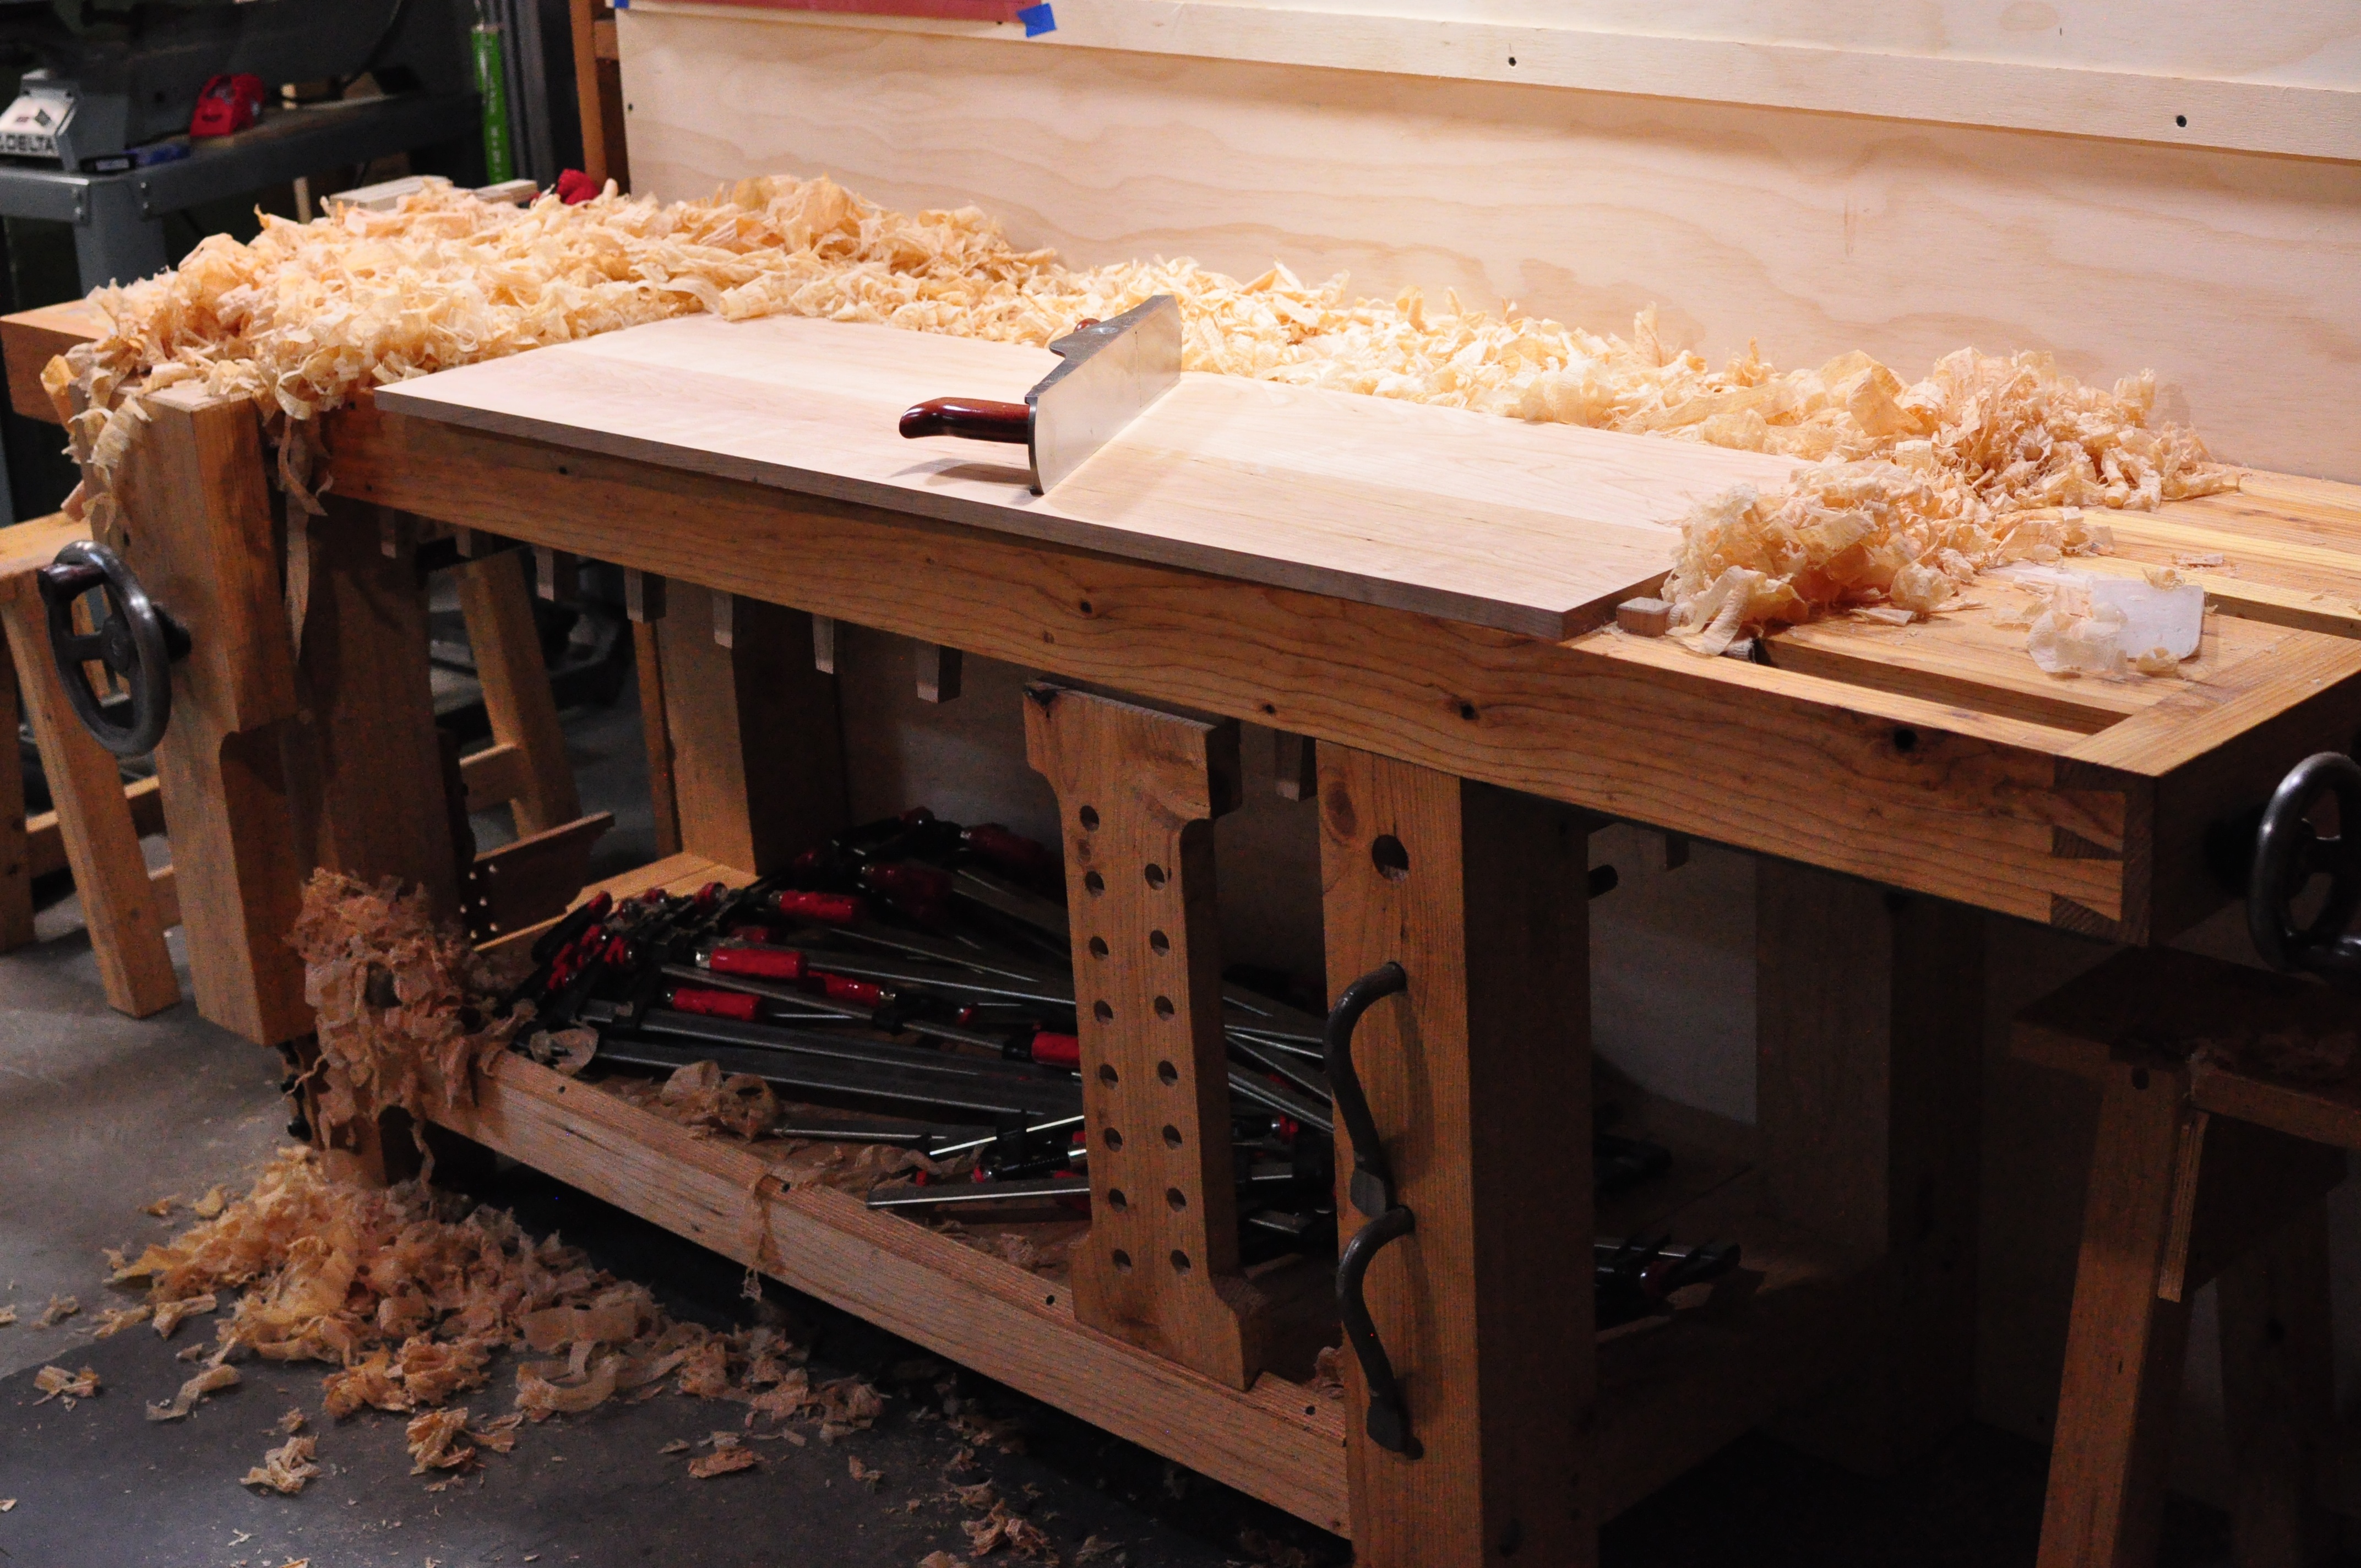
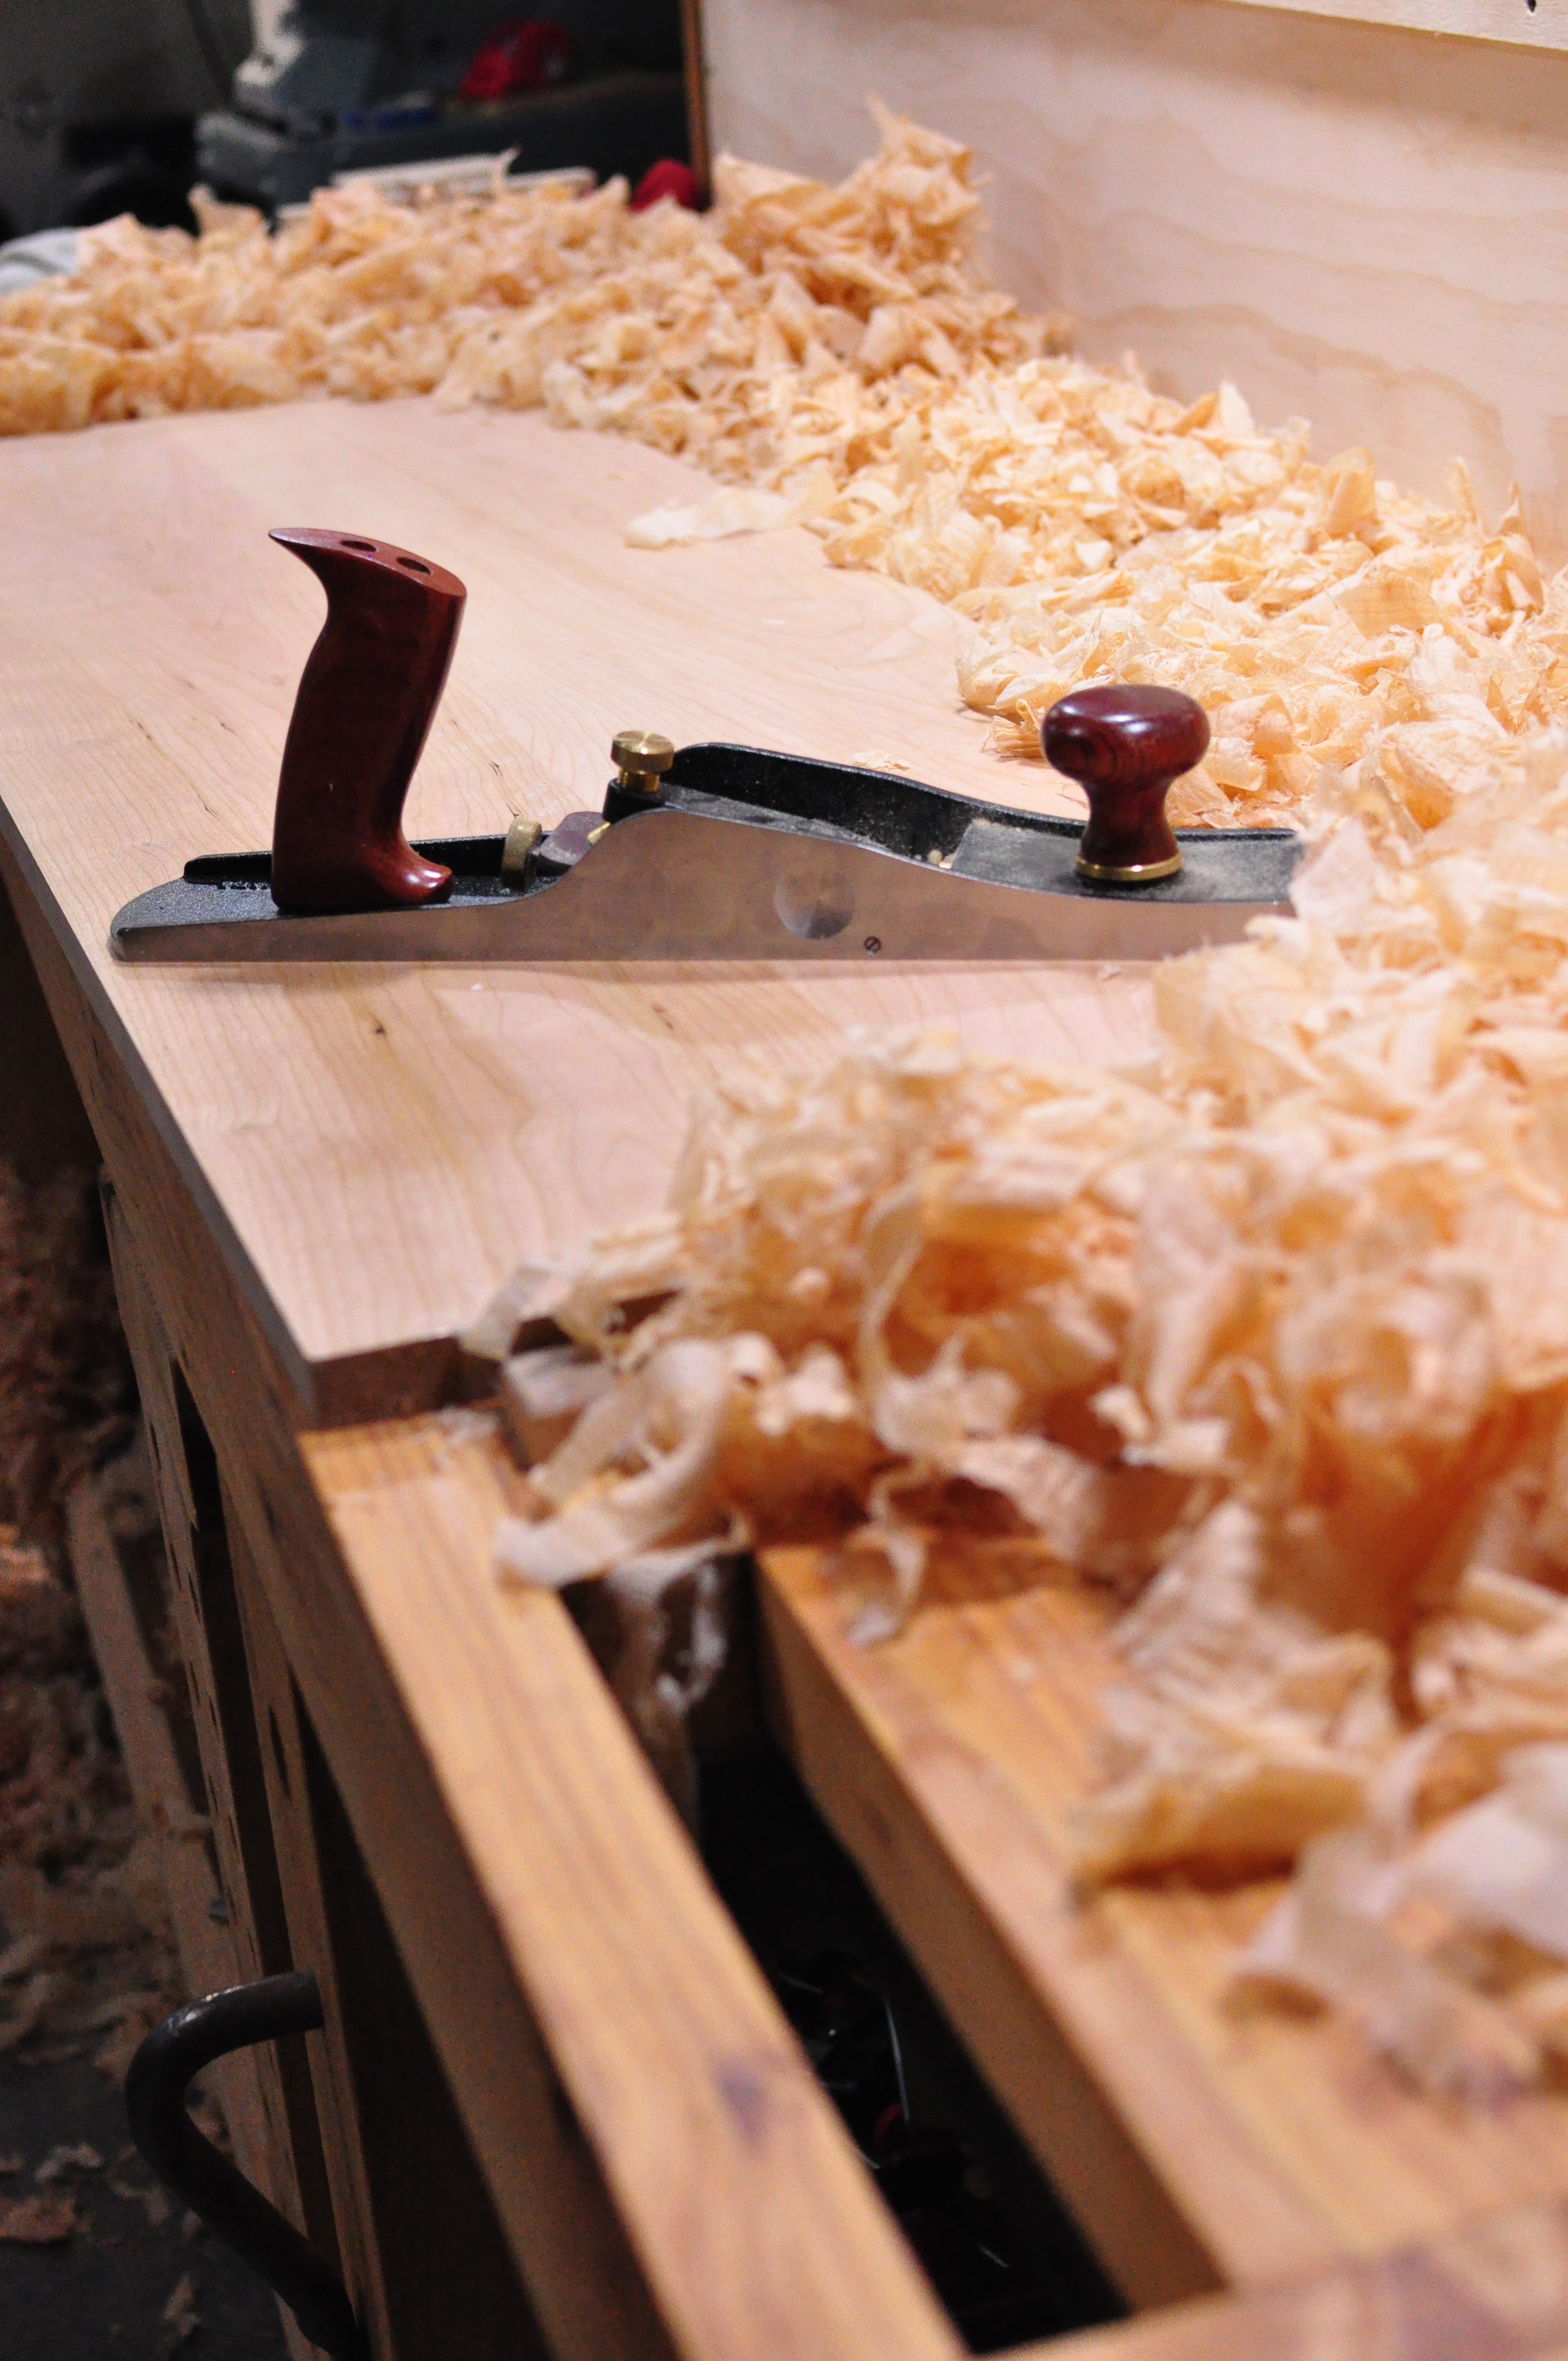
- A real shooting board plane on an accurate shooting board is a thing of beauty, speeds up accuracy chores like nobody's business, and is totally worth the cost.
- I made my first donkey-ear shooting board attachment so I could plane accurate miters on 1/8" thick material. It's just a quick jig so I could get back to work, so I didn't make it nice, but I've already thought of ways to improve it for the long term.
- I made my first sticking board so I could plow grooves in narrow stock.
- A carbide-tipped bandsaw blade is also worth the cost.
- A power thickness planer is absolutely worth the cost.
- Overall I'm pretty satisfied with the grain orientation and selection for key parts. The top 6 drawer faces all came from the same board. The bottom 3 drawers were from a separate board but the dye really evens their appearance out nicely.
- Zach at Dunham Hardwoods did a fantastic job, once again, in hand-selecting defect-free, color-matched, beautifully figured hardwood for my project. Thank you, Zach.
What Went Wrong
- I broke the brass thumb screw that locks the depth stop on my Small Plow Plane. Lee Valley was kind enough to send a free replacement, but that knob broke too. I kept tightening down because the depth stop was still moveable. Marty at Lee Valley worked with me for a few weeks. He sent a brand new plow plane, 2 brass thumb screws, and another depth stop post so that I could compare. They asked me to mail in my plane for their inspection, ended up mailing it back and asking me to compare it to the new one and keep whichever was performing better. This level of customer service is incredible. They really went above and beyond in standing behind their product. If I wasn't already a loyal lifetime customer, I would be now. I'm happy to say that we found a combination of depth stops and associated parts that lock the depth stop in place better.
- I broke the drill bit in one of my hollow-chisels for my mortiser. I haven't been happy with the set that came with the tool anyway. I should have saved my money and gotten a Powermatic, but I'll settle for upgrading the chisels before the next major project.
- I never replaced those phillips-head screws for the back panels like I said I was going to. I got too tired and didn't want to wait for an order of screws. Note to Chris Schwarz: don't look back there.
- The aniline dye bled into the maple drawer sides. I attempted to tape these off to keep them pristine, but it didn't work out. Next time I'll prefinish the drawer fronts and then assemble. Then when I'm fitting the drawers, I'll just plane their end grain off. If I go in carefully with a paintbrush I might be able to just darken them a bit without it bleeding into the maple. The only other method I can think of is to make my dry-fit as close to the drawer opening as possible so I don't have to remove any material. Not sure how I feel about this approach.
- I continue to have trouble with drawbore pins blowing out the grain on the far side. Quartersawn White Oak is brittle in parts, so that certainly doesn't make it any easier, but I need more practice.
- I kinda wish I made narrower pins in the dovetails. These look like they could have been made by a machine router bit. I was super nervous going into that phase of the project so I gave myself extra room to screw up, but I think I've got the hang of it now and can start leveling up my dovetails.
- The top isn't perfectly flat because my workbench wasn't perfectly flat. It's close though. If I were to build another bench I don't think I'd bother with the split-top. One solid surface seems like I'd enjoy it better. Add it to the list!
- I took a bit too much wood off a few of the drawer sides when fitting them, removing the possibility of a piston-fit. I had to glue some thin shims to the drawer guides in the lower drawer bays and then plane them back down until the larger drawers stopped jamming. I admit I was impatient at this point and wanted the drawers in and done, but this is the worst kind of mistake after all this work. It's so important to slow down here and take super light passes and keep retesting the fit over and over again. Once you go too far it's too late.
- My drawer closing stops were positioned too close to my drawer guides, thus preventing my large shoulder plane from fitting in there to tune the drawer guides like I intended. I could have bought a smaller shoulder plane, but I chose not to. If I had it to do over, I would have used a rabbeted guide as Mario Rodrigues does (See Popular Woodworking - February 2009 - Issue #174 - 7 Strategies for Better Drawers).
- I should have planned the assembly better in the design phase. I think the main carcass glue-up exceeded 70 parts. I did a ton of dry-fit practice runs beforehand, but still... stressful isn't the word. Also, despite them fitting perfectly during the dry-fit, the sliding dovetail webframe fronts didn't seat flush with the legs. They're probably 1/128" - 1/64" proud of the surface. I beat on them with a mallet really hard, but no luck. And since they were pre-finished, I couldn't plane it flush after assembly. Maybe I won't pre-finish this type of assembly next time for this very reason.
- I'm officially done with my Benchcrafted Classic Leg Vise. Moving that peg manually every time I change thicknesses bugs me. I'll be upgrading to their CrissCross version in short order.
- I still hate machine routers. I had to use it for the 52" long lock miters in the legs. If I can figure out a way to do this by hand, I'll probably do it. It'll be safer, quieter, slower, and with less potential for grain explosions.
The Aftermath
I've actually been having a hard time adjusting to not having such a major project occupying a substantial part of my brain. I get home from work or wake up on a Saturday with nothing to work on. It only took me two days to start getting the shakes. I had to tell Carolyn: "Whatever happens, don't let me start a new project."
These past few woodworking projects have taken so much focus and dragged out for so many months that upon completion there's a real sensation of ...emptiness? at not having them within my care and attention anymore. Still, I'm relieved to have this dresser completed.
When I brought it upstairs, Carolyn asked me how it feels to finally be done, and I guess I was sort of in shock about it because I just felt completely numb and thoroughly wiped out. It was as if the cumulative weight of the entire project came crashing into me. I wasn't allowing myself to pay attention to all the steps it took me to climb the mountain and only now turned to look back to see where I've been, and the length of the journey is daunting.
I started woodworking 5 years ago. I had to go look that up. It seems like it's been so much longer than that. With each new piece of furniture I can see that I'm getting better and that my skills are improving. This dresser is a huge leap for me. The complexity and quantity of joinery and measurement and precision required ... man. I still get a little surge of excitement when a piece of furniture ends up exactly as I designed it in SketchUp. "This was in my head at one point, and now it's standing here in front of me."
As with all of my work, I continue to see tiny flaws here and there. Mistakes no one else will notice, and I've written them here just as a reminder to myself. They don't really matter much, as they can't outweigh the beauty of the end result, but nowadays the flaws are in areas I wouldn't have anticipated. It's not an obvious flaw like a bad-fitting joint or bad finish. It's more about design, where I should have paid more attention to grain direction, or realized that a board oriented in that fashion would display flatsawn grain and not quartersawn or riftsawn grain (which would have been more preferable). I don't think this is the kind of lesson I can learn from books or blogs... I gotta make those mistakes myself and consciously decide to avoid them in the next project - the sort of wisdom that comes with the actual experience of doing the thing.
For My Wife
You put up with me when my brain latches onto a complicated puzzle and can't let go.
You wait patiently while the project invariably drags out into several months, looking forward to the time when I can return to spend time with you and our family.
When you do complain, it's out of worry for my happiness in pursuing this hobby, am I enjoying it or am I pushing myself too hard?
You do without me so that I can have this activity in my life.
You carry the weight of my absence and keep our home in one piece.
You don't add anymore pressure to me than I've already added to myself.
You make it work.
You've waited and watched for years as I built furniture for other people.
...and you've never asked for something to be built for yourself.
For all of these reasons and more, I give you this.
The depth of my knowledge.
The height of my creativity.
The intensity of my focus.
The best of my ability.
The fullest expression of my love.
Labels:
jewelry chest,
lingerie chest,
mistakes,
tips,
tools,
Veritas
Friday, January 10, 2014
Adjustable Sticking Board
The side components of the web frames have a 1/8" deep groove 1/8" from one edge. Since my bench dogs are 3" in from the front face of my workbench, and these components aren't 3" wide, I needed to find another way to hold the part so I could cut the grooves.
My first thought was to just bring them to my brother's house and run them on the table saw. This is the fastest solution to the problem, but I've been enjoying using the plow plane and took a look at the cut list and found that I'll also run into the same problem with the drawer slips. Surely, in all the years of hand tool woodworking history, someone else must have run into this problem.
After a little searching online I found a very old, simple, and common solution: The Sticking Board. Basically, you clamp a board in your bench dogs that is wide enough to be flush with the front of your workbench. On top of that board is a fence. And at the end of that board is a sharpened screw head that "sticks" into the end grain of whatever you're planing. The act of planing presses the component into the screw head and fence simultaneously, holding everything in place. It's very common to find this appliance where molding planes are being used.
I had some time off from grooving because the depth stop knob on my plow plane snapped off and I had to wait for a replacement from Lee Valley (which they nicely provided at no cost).
So I looked around at a few examples and decided to make my own. I only needed a short one for now so I kept it small. I used aluminum t-track so the fence can be adjusted for different widths. Primary inspiration came from Derek Cohen of inthewoodshop.com.
With this device I made quick work of the web frame sides. It really sticks to the wood, too. When I went to remove the wood, I slipped and pulled a Roy Underhill and sliced my finger open on the sharpened screw head.
My first thought was to just bring them to my brother's house and run them on the table saw. This is the fastest solution to the problem, but I've been enjoying using the plow plane and took a look at the cut list and found that I'll also run into the same problem with the drawer slips. Surely, in all the years of hand tool woodworking history, someone else must have run into this problem.
After a little searching online I found a very old, simple, and common solution: The Sticking Board. Basically, you clamp a board in your bench dogs that is wide enough to be flush with the front of your workbench. On top of that board is a fence. And at the end of that board is a sharpened screw head that "sticks" into the end grain of whatever you're planing. The act of planing presses the component into the screw head and fence simultaneously, holding everything in place. It's very common to find this appliance where molding planes are being used.
I had some time off from grooving because the depth stop knob on my plow plane snapped off and I had to wait for a replacement from Lee Valley (which they nicely provided at no cost).
| Broken Depth Stop Knob |
So I looked around at a few examples and decided to make my own. I only needed a short one for now so I kept it small. I used aluminum t-track so the fence can be adjusted for different widths. Primary inspiration came from Derek Cohen of inthewoodshop.com.
| Sticking Board in Action |
| Sticking Board works great! |
Thursday, July 11, 2013
Dovetail Butterfly Inlays
Each panel is supposed to have two butterfly / bow tie inlays positioned along the glue line, creating the impression that they're holding the panel together.
I was pretty nervous about this detail. To get to this stage of the project after so many hours working on and screwing up and fixing those panels, only to pick up a router and with one slip destroy them. I said as much to my wife and told her I wanted her to compare the bench with and without the inlays and decide which she prefers and to really think about it because I was nervous about this operation.
Fine!
So how am I going to go about this? I didn't really want to buy a mini/trim router with collars and the inlay template kit that would do this for me. It's still a router. I really hate routers. My brother owns several routers. I could try to make my own template but my lack of confidence is sure to lead to something going wrong.
Initially, I wasn't even sure how I was going to make the butterflies. They're too small to do safely on the bandsaw or table saw. I hate routers. Handsawing? Eventually I remembered something I saw Tommy MacDonald do when he was working on his Bombé Secretary.
I prepped a few butterfly blocks (loaves?) at 3/4" x 1-1/2" x whatever, making sure the grain was running straight across the face of the butterfly. Then I made a guide block with a 14 degree angle on it for my chisel to follow. With this setup, it's a simple matter of cutting a saw kerf right down the middle until it just touches the top of the butterfly and then flipping the loaf around and chiseling each angle until they meet.
I was pretty nervous about this detail. To get to this stage of the project after so many hours working on and screwing up and fixing those panels, only to pick up a router and with one slip destroy them. I said as much to my wife and told her I wanted her to compare the bench with and without the inlays and decide which she prefers and to really think about it because I was nervous about this operation.
Without Butterfly Inlays
With Butterfly Inlays
I used double-sided tape to stick them on so we could do a quick with/without comparison.
End result: she wants the butterflies. Her reasoning was as follows:
- They look amazing. It's an awesome detail that really brings the piece to a new level.
- They might help distract the eye from the fact that the front-center panel doesn't match the side ones.
Fine!
So how am I going to go about this? I didn't really want to buy a mini/trim router with collars and the inlay template kit that would do this for me. It's still a router. I really hate routers. My brother owns several routers. I could try to make my own template but my lack of confidence is sure to lead to something going wrong.
Initially, I wasn't even sure how I was going to make the butterflies. They're too small to do safely on the bandsaw or table saw. I hate routers. Handsawing? Eventually I remembered something I saw Tommy MacDonald do when he was working on his Bombé Secretary.
I prepped a few butterfly blocks (loaves?) at 3/4" x 1-1/2" x whatever, making sure the grain was running straight across the face of the butterfly. Then I made a guide block with a 14 degree angle on it for my chisel to follow. With this setup, it's a simple matter of cutting a saw kerf right down the middle until it just touches the top of the butterfly and then flipping the loaf around and chiseling each angle until they meet.
14 degree guide block
Chisel the loaf into shape.
Slice the loaves on the bandsaw.
Well that wasn't too difficult. With that done I decided to just inlay them by hand. I figure the slow pace will lead to fewer mistakes and less to worry about.
Mark on the butterfly which way is up. Trace around it with a marking knife. Then use a chisel to create a knife-wall all the way around the inside of those lines. Scoop the center out as best you can with a chisel. Keep checking for fit as you go.
Be careful of the sides of the butterfly where it meets the long grain of the panel. This is the area I had the most trouble with. The chisel wants to walk outward and the panel's grain is weakest in this direction. A few of my inlays are 1/16" wider or so. I'm going to try to fill them with slivers and dust and glue or something. Or maybe I won't. It's handmade and I'm not a professional. Little imperfections might be interesting.
Then take a mini or small router plane and even out the bottom of the recess.
Put a little glue in the recess and on the back of the butterfly and smush it in.
Set them aside to dry and then plane and sand them flush.
I decided to do all 8 panels even though you won't see the back ones for the sole reason that it would give me 3 panels to practice on before attempting the inlay on a show surface, and then if they turn out better than the front-center panel, I'll have 3 options for replacing it.
I think this took about 5 hours total. It was very relaxing and satisfying. I just put in my audio book and chipped away at it.
Tuesday, July 9, 2013
Arts & Crafts Entry Bench Update
I mentioned earlier that I screwed up resawing the wood for the lid and had to order more lumber. While waiting for the new wood to arrive I got started on the floor boards using my new scratch beader and then shiplapped them. Scratch beading works way better on hardwood than softwood. You really need a delicate hand with softwoods so that you don't dive into the board.
Scratch Beader at work on the floor boards.
Rabbeting for shiplaps.
So here's one of a dozen or so dry-fits.
You might be wondering why the front/center panel is missing.
Because I'm the biggest idiot in the world. That was a very bad day. I wasn't paying attention and was so focused on making progress that I didn't realize I was cutting the rabbet on the wrong side of the panel. Every panel is supposed to be flat in the front and rabbeted in the back. I can't simply flip the board over, because the other side is a non-bookmatched substrate with an off-centered seam.
I had put so much time and attention into choosing those panels. They all came from the same board to ensure grain and color match, the grain patterns are the craziest I'll likely ever see, and the board is simply irreplaceable. The cry of anguish when I realized what I had done still echoes in my house.
I attempted to glue pieces of wood back on, but eventually gave up.
I found another board with decent grain and built a replacement. At least if it doesn't match it will be in the center on not to the side. I'm hoping that the aniline dye will make everything look like it belongs together and cover up my mistake.
Dry-fit #13,342
The front-center panel is a little thinner than the others. I had trouble resawing again (of course). You can only tell from the inside, so who cares?
Boden says it'll be okay. Moving on...
Tuesday, June 11, 2013
Scratching an Itch
I'm almost to the point where I can make the floor boards. They're going to be made out of poplar and shiplapped. On my tool cabinet I just beveled the mating edges, but for this project I wanted to try adding a bead.
I've been looking at buying a beading tool for awhile and read a dozen or so articles about how to make my own and since Lee Valley isn't offering a free shipping event right now and I have to wait for more wood to be delivered I figured I might as well give it a shot.
It only took me two nights. I bought a couple chainsaw files and a big pair of snips and cut a rectangle off the end of an old handsaw blade. I polished that bit of metal on my sharpening stones to a mirror and cut the half-circles in a few seconds. I need slip stones to hone the curvy parts but even with my rough attempt with rolled up sandpaper it does a pretty nice job. :-)
This is based on the one Garrett Hack used in his video.
I tapped 1/4" screw threads into the block of wood to pinch the blade in place.
Monday, June 10, 2013
Lee Valley Update
I heard back from Customer Service at Lee Valley the next morning and they had their Veritas representative take a look at my photos.
Most of the cutters are within their tolerances, but the 1/8" and 1/4" were just outside, so they agreed to send me a new 1/8" and 1/4".
The customer service rep, Marty, took some calipers into the stock room and measured each 1/4" groove blade until he found one that measured exactly 1/4". This is why I like Lee Valley. They put in the extra effort to solve your problem where other companies might just throw another blade into a box without taking a second glance.
I haven't had a chance to test out my current 1/4" tongue cutter with the new 1/4" groove blade, but it's on the list.
Wednesday, October 31, 2012
Wall Hanging Tool Cabinet (Complete)
I completed the tool cabinet in a little over 4 months. It is not without mistakes, but I'm fine with that. This was my first mostly-hand-tool project, my first hand-cut dovetail project, my first cherry project, and several other firsts. The visible reminders of my mistakes are helping me learn.
Since these photos were taken I've lined the drawers with felt, though after I adhered them to the drawer bottoms with rubber cement, I read an article where they adhere them to poster board sized to the drawer so that it's not a permanent installation. Add that to the pile of lessons learned.
I have also hung the carcass saws on the left door, the fret and flush cut saws on the right, and built a sort of interlocking divider assembly for the chisel drawer to keep them from rolling around.
Position-wise, I disliked the bench in the middle of the room. I almost never work on the far side of the bench, and having to walk all the way around to get at the tools in the cabinet was annoying. I decided to push the bench against the wall, so now the cabinet overhangs the left end of the bench a bit, but the tools are within easy reach. A fair compromise. Space is pretty tight down there, so I'll live with it this way for awhile before changing it again.
The Finish
- 2-3 coats of Boiled Linseed Oil
- 3-4 coats of Minwax Wipe-On Satin Polyurethane
- 2-3 coats of SC Johnson Paste Wax
List of Errors (just because I'm a perfectionist):
- I got excited about cutting dovetails and I accidentally cut one too many pin slots on the bottom rear corner of the side walls.
- I got a little impatient with the hinges and split off some grain. The hinge mortises are a little too sloppy, some are too loose, some are too deep, resulting in the doors being misaligned by a little less than 1/8". I wanted to keep trying to fix it, but I was getting too nervous about the screw holes stripping out so I decided to leave it alone.
- The carcass isn't 100% square and true, and this became a problem when attempting piston-fit drawers. I must have messed up the stopped dadoes for those shelves by a small degree. So no piston-fit, but pretty damn good anyway.
- My dovetails on the drawers are a little loose. I need more practice.
- I should have attached the backer boards after the finished was applied to the rest of the carcass. I wasn't intending on finishing the backer boards, but because they were attached, and because I snapped a lot of screws trying to attach them and didn't want to remove them, I got a little finish on them as I was applying it to the shelves. So I finished the visible sections as best I could and no one would really notice.
- I never would have guessed this, but apparently there are still planer marks on the bookmatched door panels. You can see it in the reflected light in the photos. What the hell? I hand planed those things for what felt like hours. Oh well.
Overall I'm 97% completely satisfied with my novice performance, and I'm allowing myself to not be perfect. It was a fun project and I really like how it turned out.
Wednesday, January 18, 2012
Wall Hanging Tool Cabinet
A Home for My Tools
I spent all that money on nice quality hand tools, and they're sitting on a shelf in my basement. The problem here is that dust sits on them. Dust contains salt which attracts water which rusts tools. So I need to build a cabinet to keep them cozy.I had decided to make a wall hanging tool cabinet before I ever read The Anarchist's Tool Chest, and Schwarz's words in favor of floor chests didn't sway me. Even my wife agrees with me. Besides, it's a cramped space and I need all the floor space I can get. Wall space is in abundance.
I'm making the cabinet out of cherry and poplar (for the drawer sides, backs, and drawer webs). I milled it to width and thickness using power tools and I'm going to attempt to do the rest by hand -- wish me luck.
So far I've done a little smoothing with the hand planes (and it isn't going super great, but I'm learning).
There's a glue seam where I joined these boards together and all I wanted to do was flatten it out. It turned into a 2 hour long aerobic workout. This particular board ended up looking pretty good, though it's a little thinner than the original 3/4" I had planned. The second board I tried had a few knots in it and I've since learned a few tricks to deal with grain tear out (again, credit goes to Schwarz).
Dealing with Tear Out
- pick wood that's easier to plane
- use a freshly sharpened plane blade
- increase the blade angle
- tighten the mouth opening
- take lighter cuts
- and don't skew the blade
I've been following She Works Wood as she builds her own hanging tool cabinet, and our cabinets are almost identical, with very few exceptions. It's been really interesting to see how this project is going to play out by watching someone else do it first.
I made a mallet.
| A wooden mallet. |
Hammer time!
I had some quartersawn white oak leftover from Brandi's mirror so I laminated a couple bits of that together and made this in a couple hours. I wish I spent more time on the handle ergonomics, but it works fine and gets the job done.Dovetail Markers
| Dovetail Markers and a Saddle Square |
Dovetail stuff
In preparation for starting to cut dovetails by hand, I decided to make (instead of buy) dovetail markers. These little doohickies allow you to draw the angle for the pin or tail while also drawing the corresponding plum line without having to switch between a bevel and a square. Since I wasn't sure which angle I preferred, I decided to make one of each of the popular ones.In order to determine the angles, I didn't use a protractor. I hate math. I just drew a few points on a piece of scrap wood. From the corner, I marked a point 1" in, and another point 6" up, and 8" up. Then I used my bevel gauge to connect those dots for the 1:6 and 1:8 markers.
For the 14 degree marker (a popular dovetail angle) I had to do a little more work. I don't own a protractor, so I opened up Sketchup and drew a 14 degree angle, then drew a guide 1" over, and figured out how far it was up the point where the guide meets the angle (just over 4"). So I went back to my scrap wood and drew that.
Using the bevel gauge, I transferred the lines onto these little blocks of wood. Then I lined them up with the miter saw blade and cut them. They turned out perfectly. That miter box is awesome.
Because I had extra scrap leftover I decided to make a 90degree saddle square. These are handy for when you need to draw a line that wraps around the edges of a board.
Workshop Helpers
| From left to right: Shooting Board, and two Bench Hooks |
Helpers
Holding wood still while you work on it is step one. Bench hooks, holdfasts, vises, and clamps hold wood still. Making square cuts is step two. The shooting board has a 90 degree fence so you can plane the end of a board squarely.I had some scrap plywood so I whipped these up in a few minutes. They work. As that was all the thought they required, that's all the thought I put into them.
"Schwarzian" Saw Benches
| English-style "Schwarzian" Saw Benches |
A couple saw benches
I made these with some scrap Hem-Fir that was leftover from my workbench project. I followed Christopher Schwarz's plan from Popular Woodworking Magazine, though I'll admit I found the instructions confusing and the design lacking.Compared to the other stuff I've been building, these saw benches are pretty flimsy, and while I understand the need for a simple design (Schwarz was teaching a class where you build a saw bench with nothing but hand tools in a single day), I guess I just don't agree that the shortcuts were worth the end result.
He has since tweaked the design a few times, but if I did this project over again, I would have added cross beams to keep the legs apart and stable. I'm not a huge fan of the screws and plywood either.
But in the end, it gets the job done and the saw bench is perfectly functional. It doesn't require more thought than has already gone into it and it won't be replaced unless it breaks.
I think my complaints about the instructions being confusing is that I'm mostly just not accustomed to following plans in general. I had a similar problem following Norm's plan for the blanket chest. My typical process is that I'll build an entire project in Google Sketchup, developing my own understanding of how everything fits together, and exporting a cut list of parts before I ever touch a single piece of wood.
Following someone else's step by step instructions doesn't allow for the big picture understanding and it feels like I'm blindfolded, being guided through an obstacle course by a back seat driver. I don't find it very comfortable and I end up getting frustrated when I don't understand the next step.
Subscribe to:
Posts (Atom)


