- All of the parts are ready
- The layout has been planned and double-checked
- I've watched Rob Cosman's Drawer Making DVD two more times as a refresher
- I've confirmed my tail layout against Christopher Schwarz's projects as added insurance
- And, most importantly, I got the green light from my wife on how the drawers will look upon completion.
Have you gotten the impression that I'm a little nervous about this part of the project? I'm stalling.
 |
| Drawer Backs, Drawer Sides, Drawer Faces |
Marking Baselines
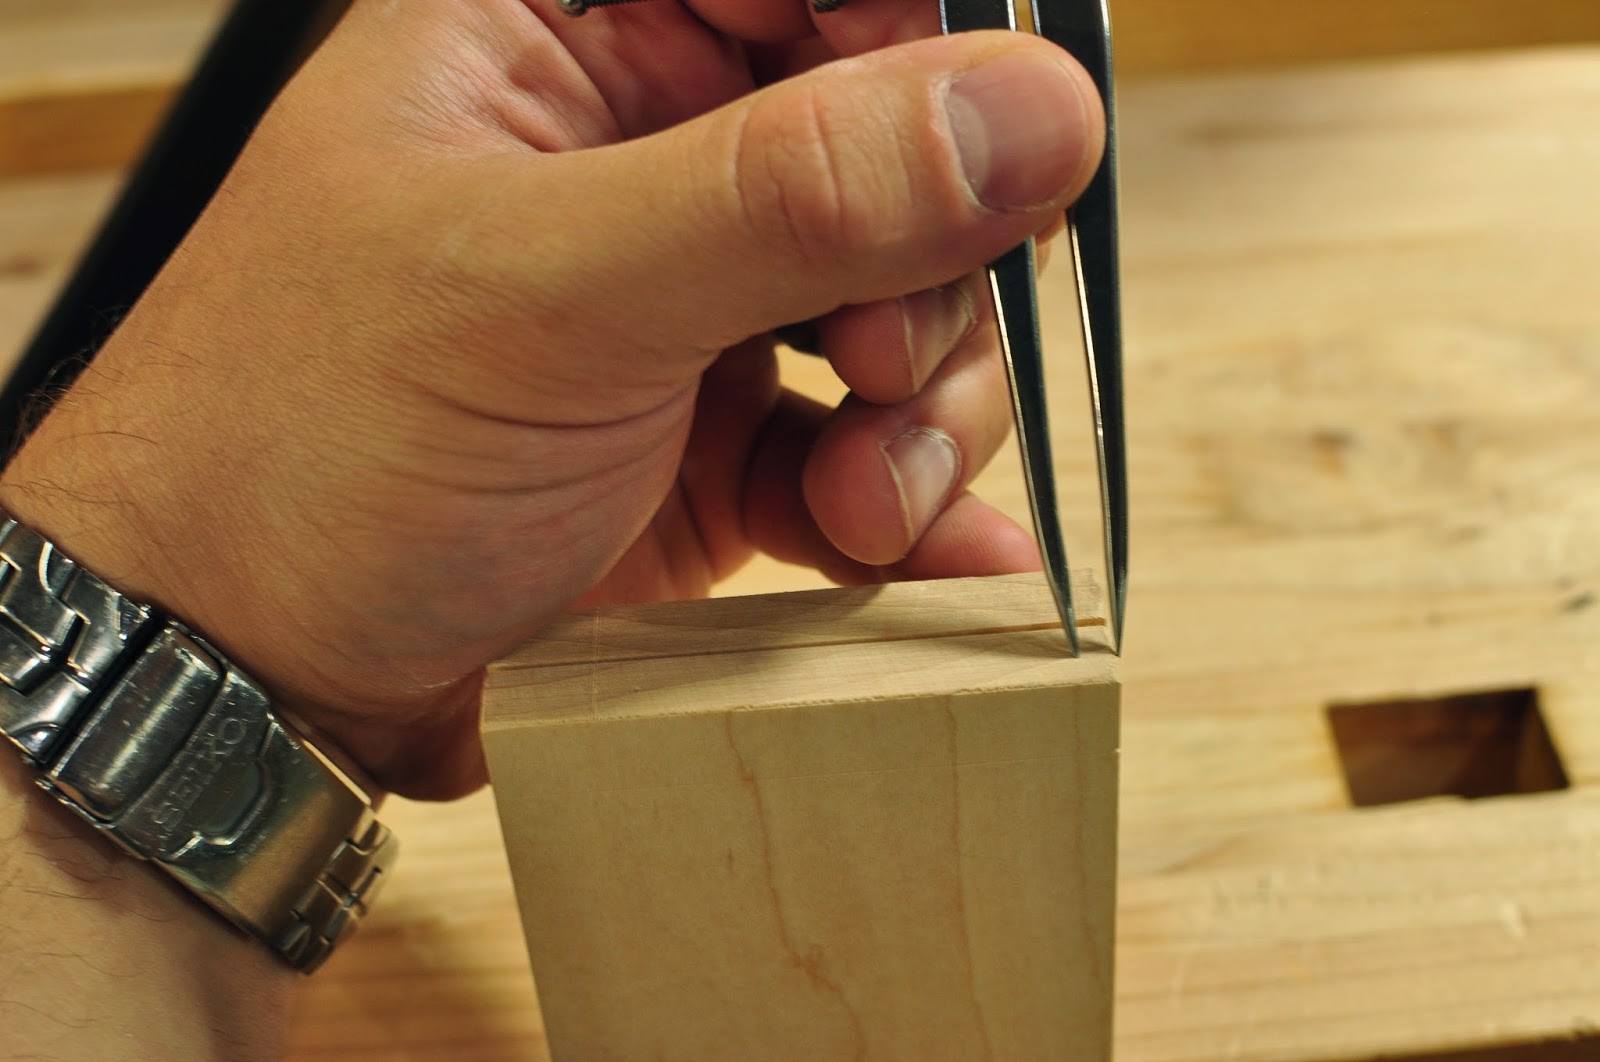
Set one Marking Gauge to the Thickness of the Drawer Sides minus 1/32". This will make the drawer sides stand proud of the perfectly-fitting drawer face and back. Once assembled I can plane the sides down to be flush with the end grain of the face and back and it should fit the opening perfectly. Mark this measurement onto the inside surface of the drawer faces and backs.
Set a different Marking Gauge to the thickness of the drawer back plus a tiny bit (1/2" + 1/64") and mark this measurement heavily onto the inside, top and bottom edges, and lightly on the outside of the rear of the drawer sides. You can set it exactly if you want, I'm just adding the tiny bit cuz I want to.
If you have a third Marking Gauge, set it to the depth you want the half-blind dovetails to reach into the drawer faces. Mark this line onto the end grain of the drawer faces.
You should have:
- 2 different baselines on each end of the drawer faces
- 1 for the thickness of the side
- 1 for the depth of the half-blind tails
- 2 different baselines on each end of the drawer sides
- 1 for the depth of the half-blind tails
- 1 for the thickness of the drawer back
- 2 of the same baselines on each end of the drawer backs
- both for the thickness of the drawer sides
Rabbet Season
Okay, that might be my last blog pun. For some reason I'm seeing them everywhere, like it's what you're supposed to do on blogs. Not sure why, but it's starting to annoy me.Set the Skew Rabbet Plane to take a very light cut. Set the fence to the drawer side baselines and take 1 or 2 light passes on the inside faces of the drawer sides. This little step will help you register the drawer side to the drawer back/front when you go to mark the tail locations.
Christopher Schwarz mentions this trick and I've seen it a few times now. It's also on the Rob Cosman DVD.
 |
| Just a wee rabbet, doesn't even have to be perfectly square. |
Easy Divider Dovetail Layout
Pencil a line 1/2" from the bottom edge of the drawer sides so you know where the drawer bottom is. You'll start walking your dividers from this point, not from the bottom edge of the board.
Set one pair of dividers to something small that looks decent. You can have super thin and pointy pins or you can pick something with a wider margin for error. I set mine to about 3/16". Mark this distance from the top and bottom edges onto the end grain of the drawer sides.
Dial in another pair of dividers to 1" or so. Put one point on the starting point (1/2" from the bottom edge) and without making any marks, start walking the dividers toward the top edge of the board, counting as you go. I want two tails on the smallest drawers, so I'm trying to count to two. I want the word "two" to end with the divider point resting exact into the 3/16" mark I made from the top edge of the board. Keep adjusting the dividers until this point falls into place. Once you've got it, walk the dividers across the end of the board and make small impressions with the leading point. Reposition the dividers to the hole 3/16" from the top edge of the board and mark backwards. These little impressions are the boundaries of your symmetrical dovetail layout.
Mark along the end grain and down the outside face of the drawer sides with your dovetail angle of choice. I chose 14 degrees.
Do that on both ends of every drawer side. If you have graduated drawer sizes, as I (sort of) do, then you'll need to modify the second set of dividers for the other drawer sizes to create more pins on taller drawers. In my case, I have two tails on the smallest drawers, 3 on the middle-size drawers, and 5 on the largest drawers.
Megan Fitzpatrick put together a nice video explaining this process visually.


No comments:
Post a Comment